Create Shortcut for Sign in Person
Shortcut for Sign in Person - functionality and a corresponding button that starts Sign in Person mode for a previously selected template. It differs from regular Sign in Person due to its customization options: the name of the Shortcut is editable, users can preset a template for it or allow others to select a template while using it, a Shortcut speeds up configuring Sign in Person.
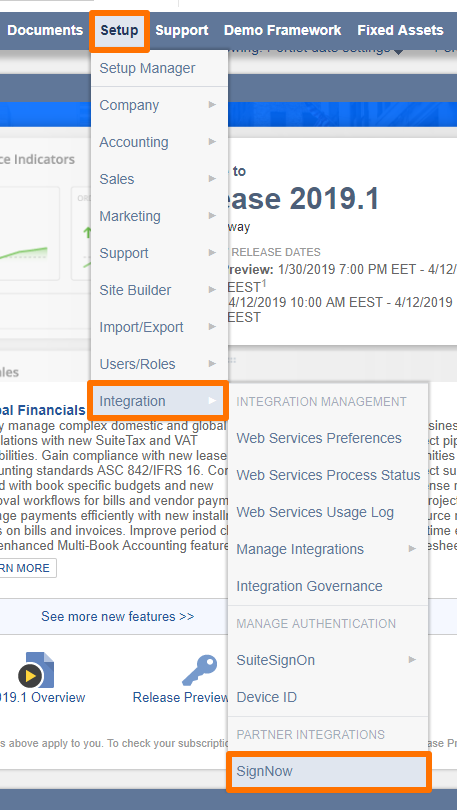
- Go to Setup > Integration > SignNow.
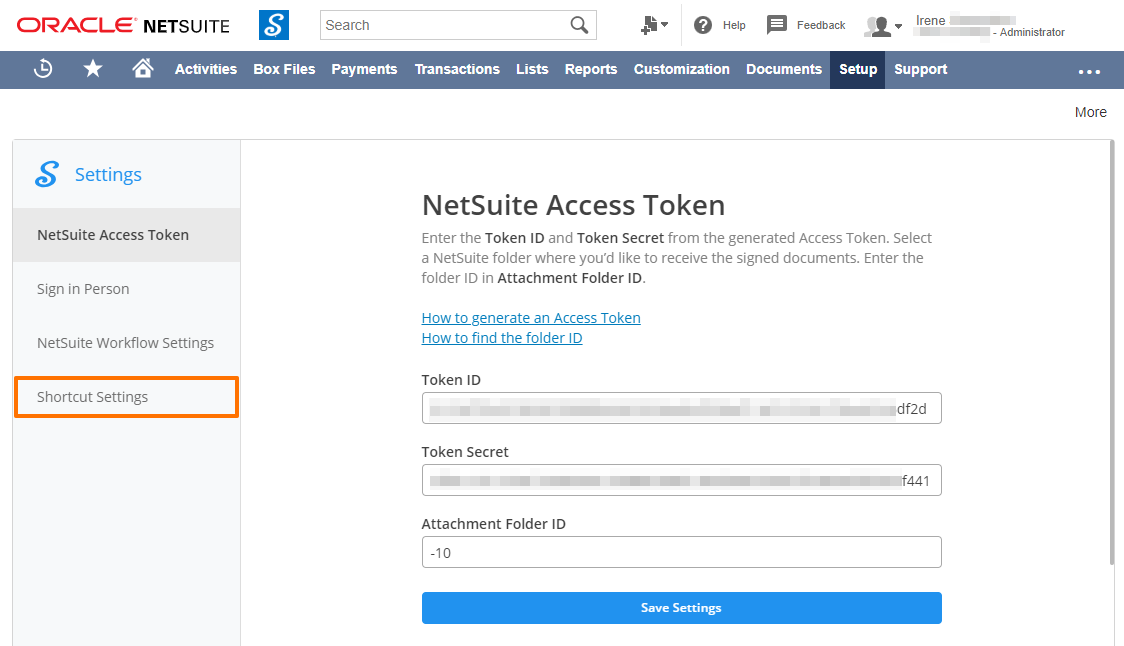
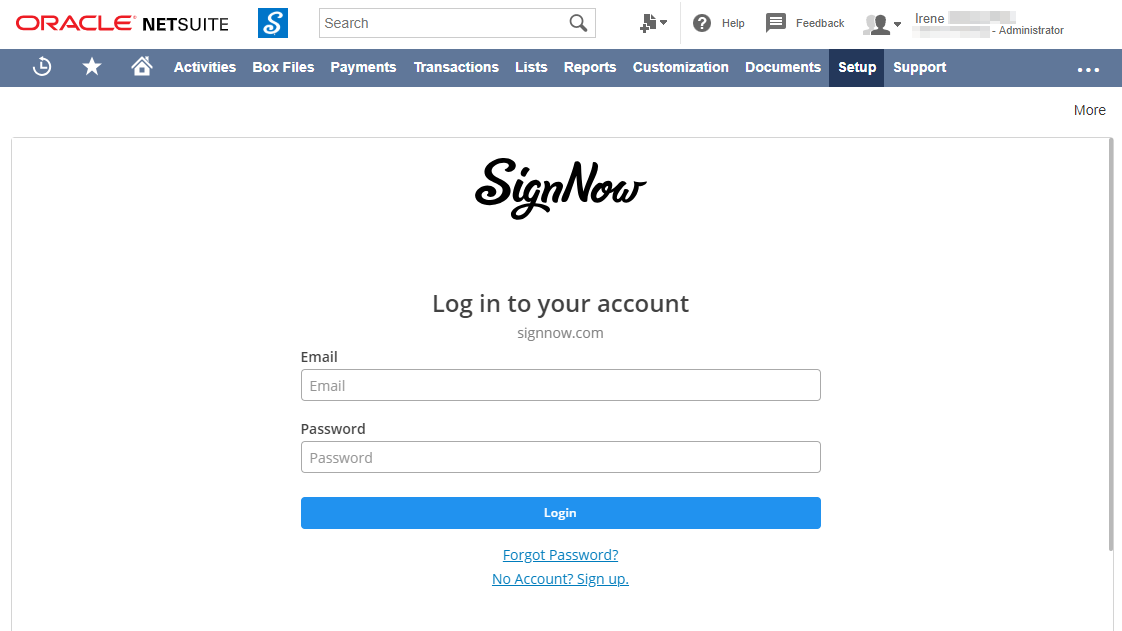
- Go to Shortcut Settings. SignNow Log In page opens next. Log in to your SignNow account.
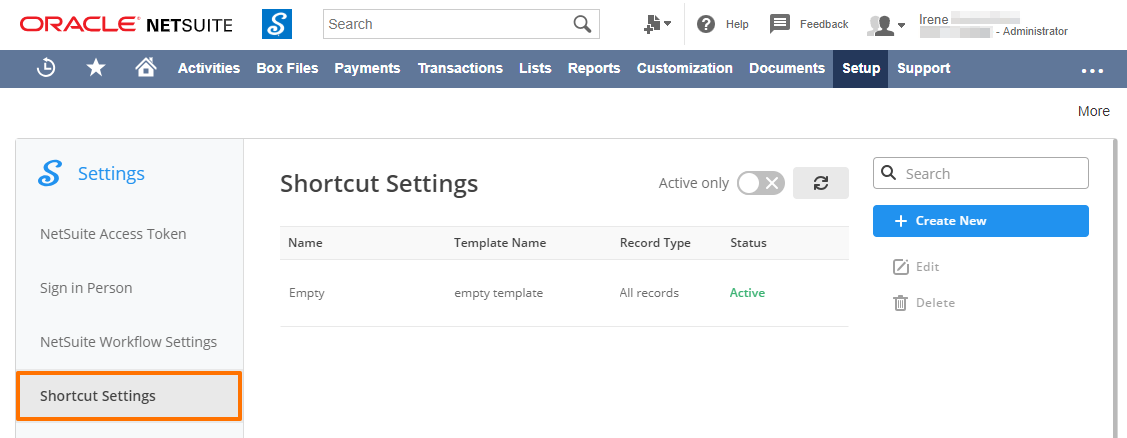
- In Shortcut Settings click Create new.
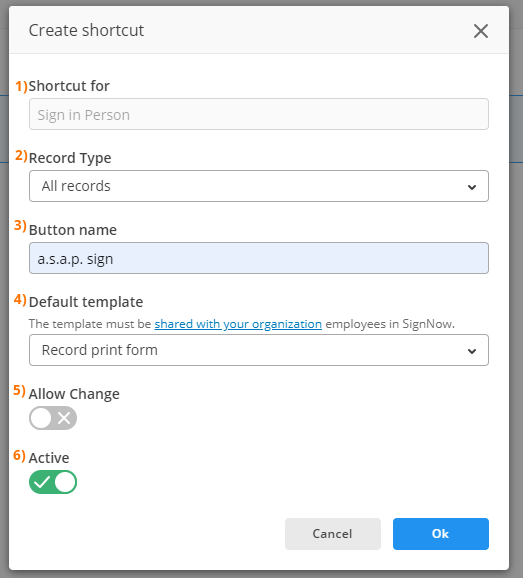
- Configure the following parameters for your new Shortcut:
-
- Check in Shortcut for if Sign in Person is preset.

This parameter is sealed for your convenience. It will be turned into a dropdown which lists other SignNow features, in case you want to create a Shortcut for Send for Signature etc.
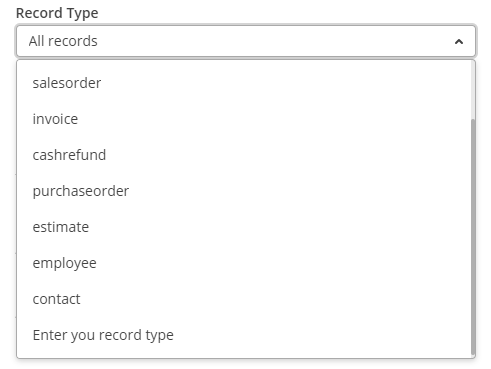
- In Record Type select in what record(s) the new Shortcut should appear. You have an option to select All records - the Shortcut will appear in all records; select a record type; or enter the name of your custom record type manually.
- In Button name give the name to new Shortcut.

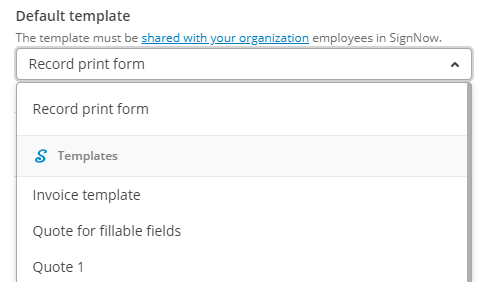
- In Default template you can go two ways:
- select Record print form - this will generate a document according to the Advanced PDF/HTML Template that’s been preset as a print form for the record;
- or select any of SignNow templates - you’ll be able to choose among the templates created in SignNow.
SignNow Templates must be shared
SignNow templates must be shared with employees from your NetSuite organization. You can do it in SignNow by creating a team, adding employees’s email addresses to it, and then sharing templates with a team.
To create a team in SignNow:
- Click on Create Team in the bottom left corner of the page.
- Type the name of the team and add the email addresses of the people you want to invite to the team in the window that appears next. Click Add Team.
- Once a team has been created, click Back to My Documents.
To share a template with a team in SignNow:
- Proceed to the Templates folder. Click on the More button next to the template you need to move and select Move.
- Select your team’s folder and click Move Here.
- Click on your folder in the Shared Templates section and confirm that the shared template has already appeared in this folder and can be viewed by all team members.
If you select a Record print form with All records, the Shortcut would always generate documents according to preset print forms.
- In Allow change click on the toggle to switch it to green, if you’d like employees to select a template every time they click on a Shortcut.

- In Active the toggle is set to green by default which means the new shortcut is enabled the moment you hit Ok. Click on the toggle to switch it to grey, if you’d like to disable a Shortcut.

When you’re done, click Ok.
You can see the new Shortcut on the list in Shortcut Settings.
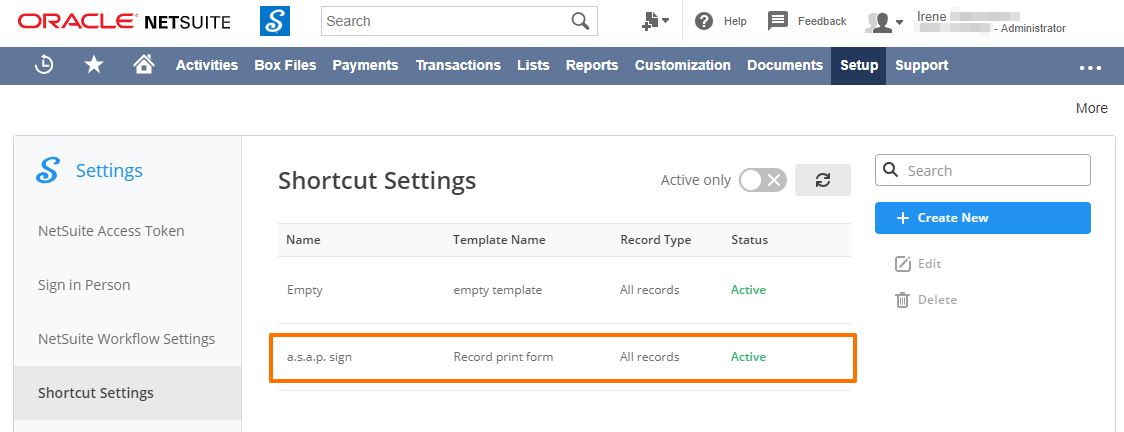
It also appears in all NetSuite records, as configured.

Updated over 6 years ago
