Set up Advanced PDF/HTML templates for SignNow
NetSuite offers Advanced PDF/HTML templates for generating documents from NetSuite records. Having generated the document from Advanced PDF/HTML Template, users can send it for signature with SignNow.
First, create a list of Advanced PDF/HTML Templates that you’d like to connect with SignNow. Then you’ll be able to select a PDF/HTML template every time you click Send for Signature or Sign In Person in any record. So, the whole process of connecting SignNow and Advanced PDF/HTML Templates consists of two stages:
- edit the PDF/HTML template to get a specific layout for your document
- create new records (a.k.a. empty items) on the list of Advanced PDF templates and fill in the records (items) with the templates you've customized.
Stage 1. Edit the PDF/HTML template to get a specific layout for your document
1.1. Go to Customization > Forms > Advanced PDF/HTML templates.
Here you’ll find a list of standard and custom PDF/HTML Templates that you can use for document generation.
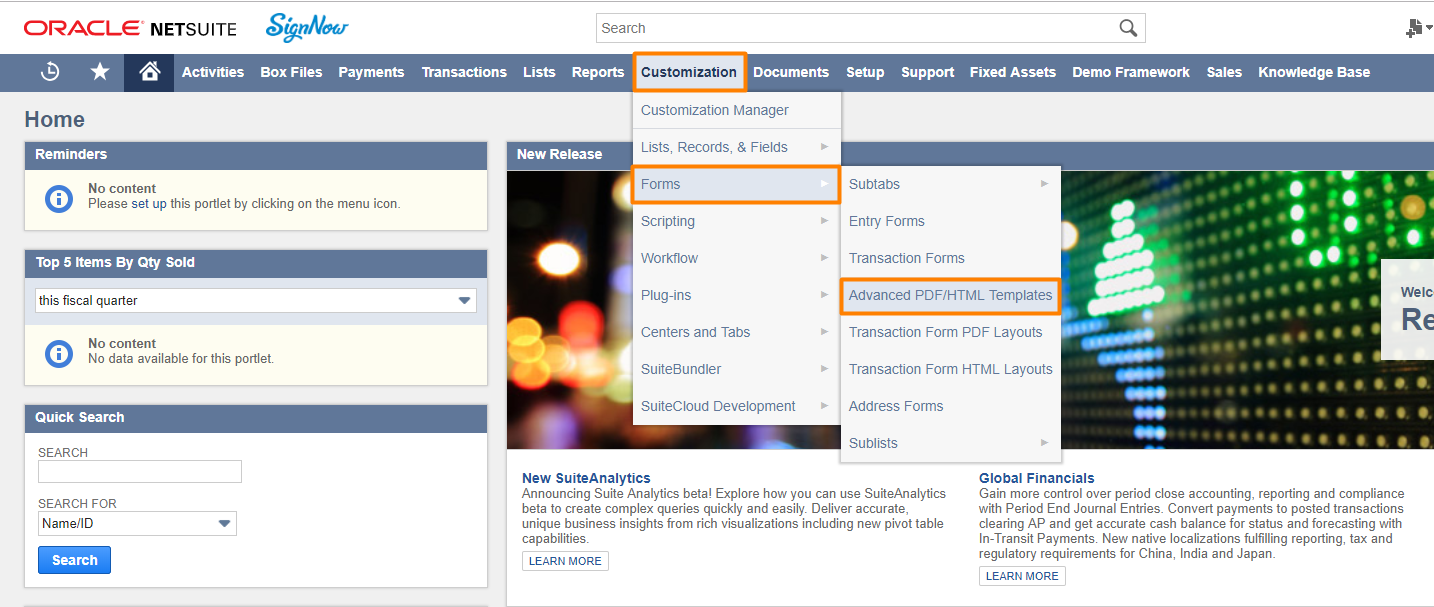
Find Advanced PDF/HTML Templates in NetSuite
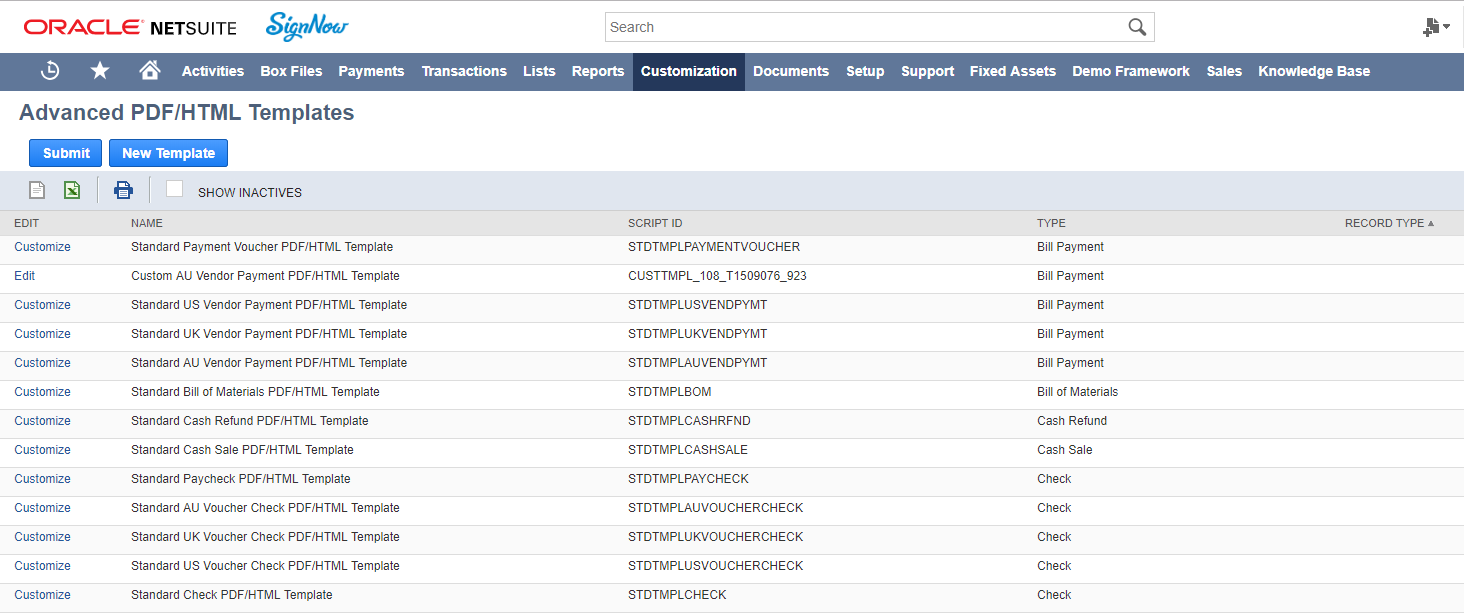
1.2. Click Edit or Customize on any template.
You can view and edit the template in two modes: as a Source code or in Preview. To flip through the modes, switch between grey or green in Source code or click Preview on the upper right. In Source code green you can work with a template using HTML, in Source code grey you can edit the template the same way you would do in a PDF or Word editor. By clicking Preview you’ll see how a generated document would look like.
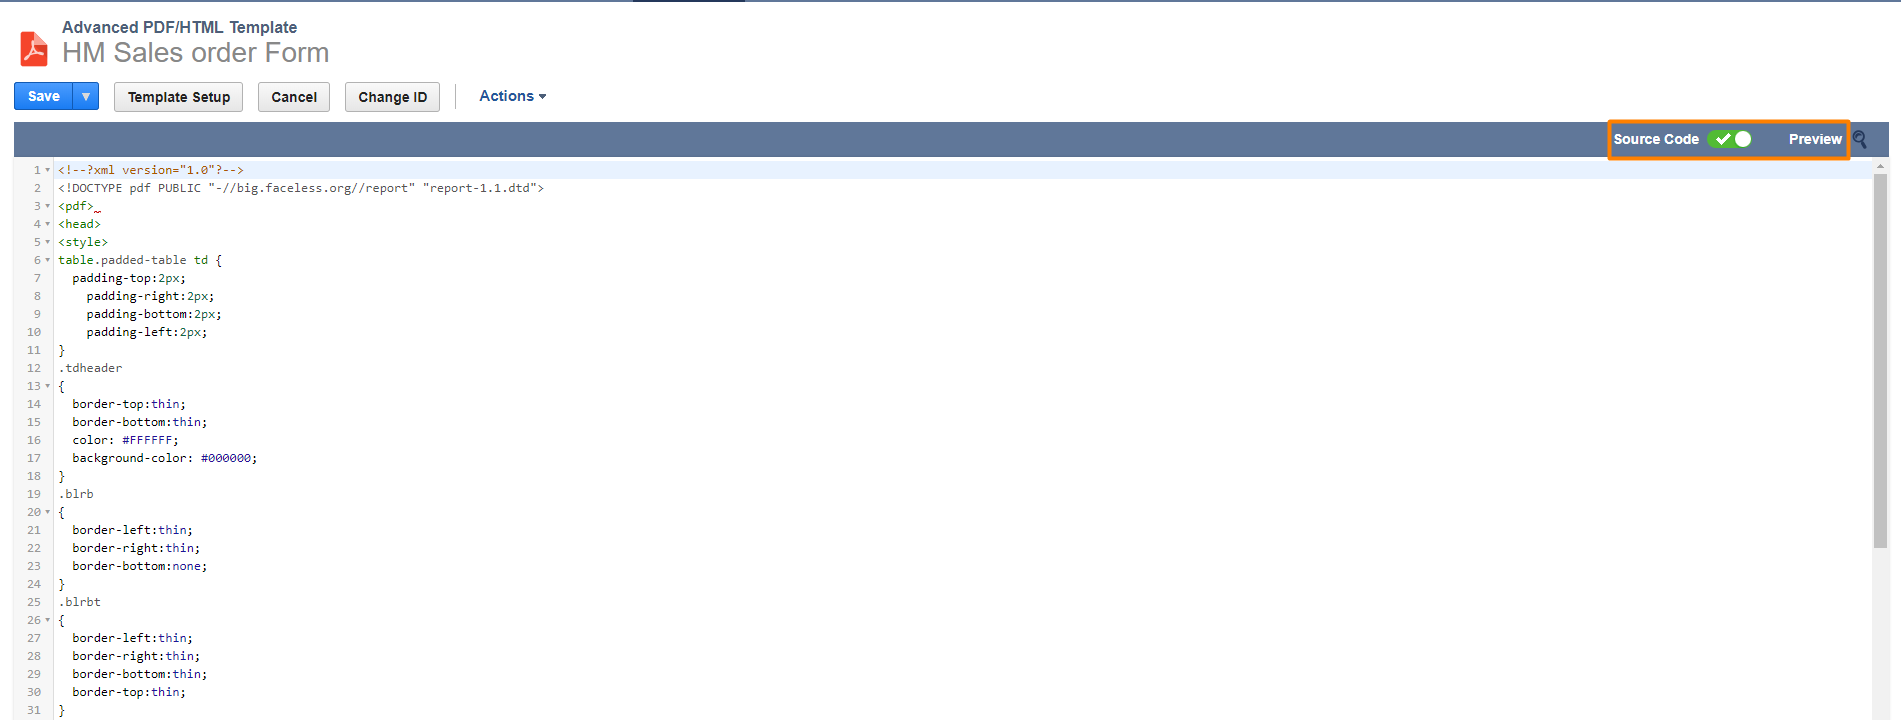
Advanced PDF/HTML Template in Source Code green
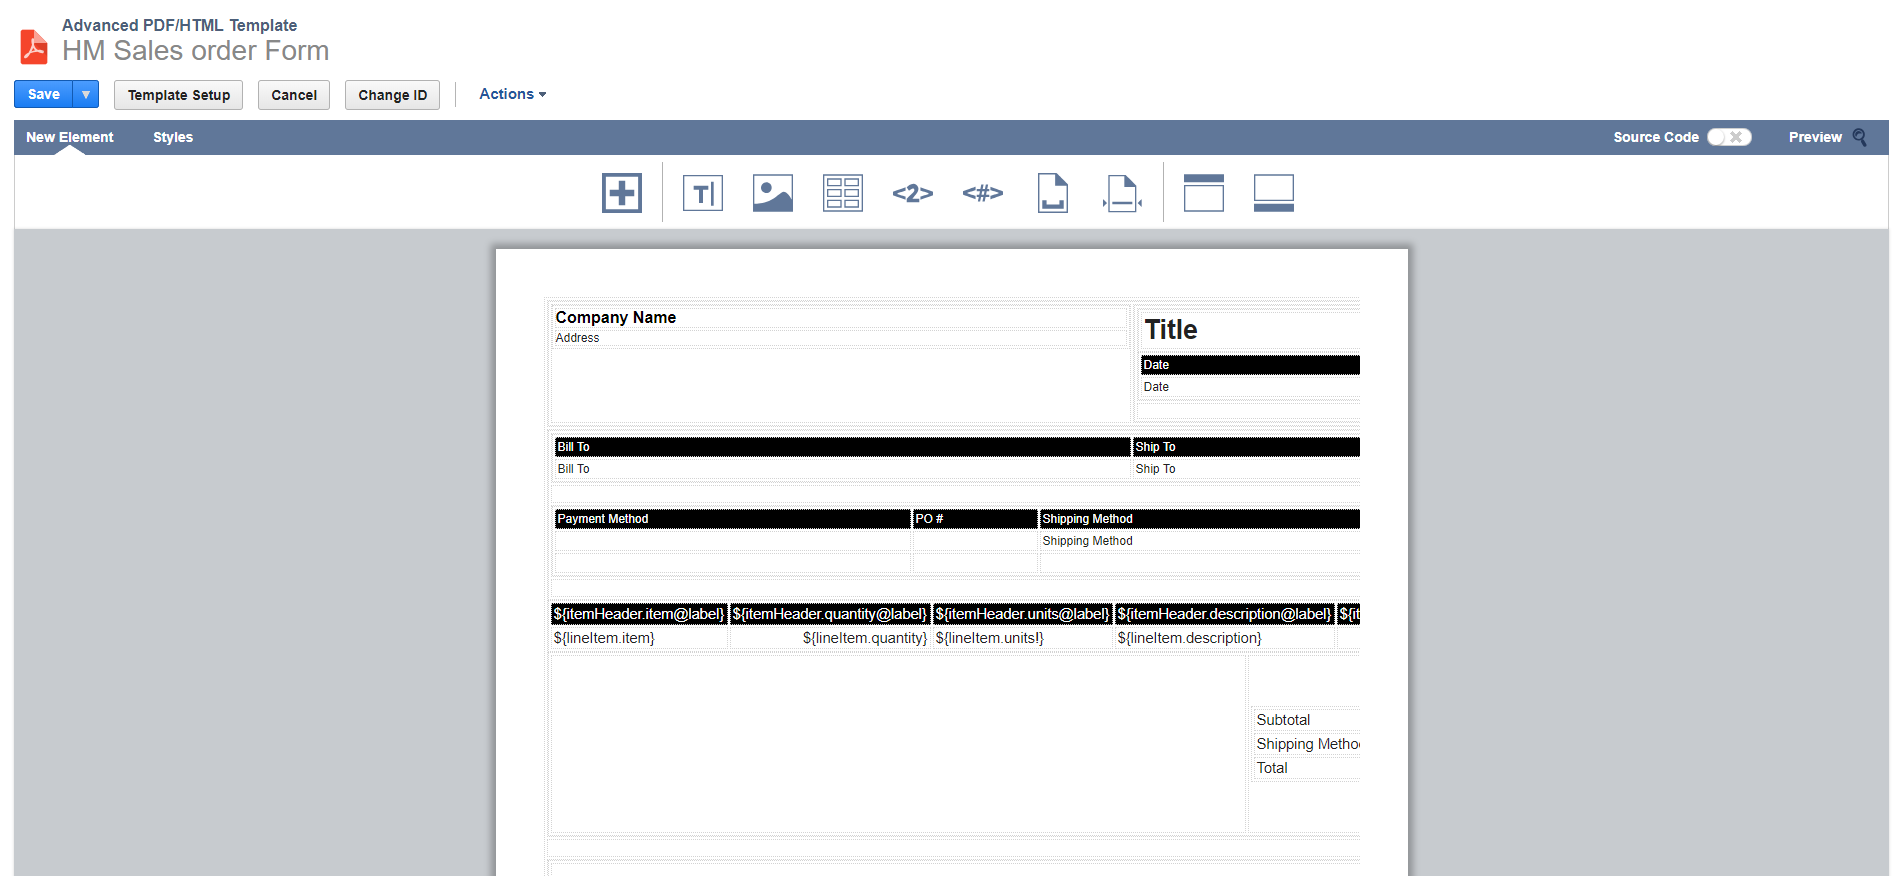
Advanced PDF/HTML Template in Source Code grey
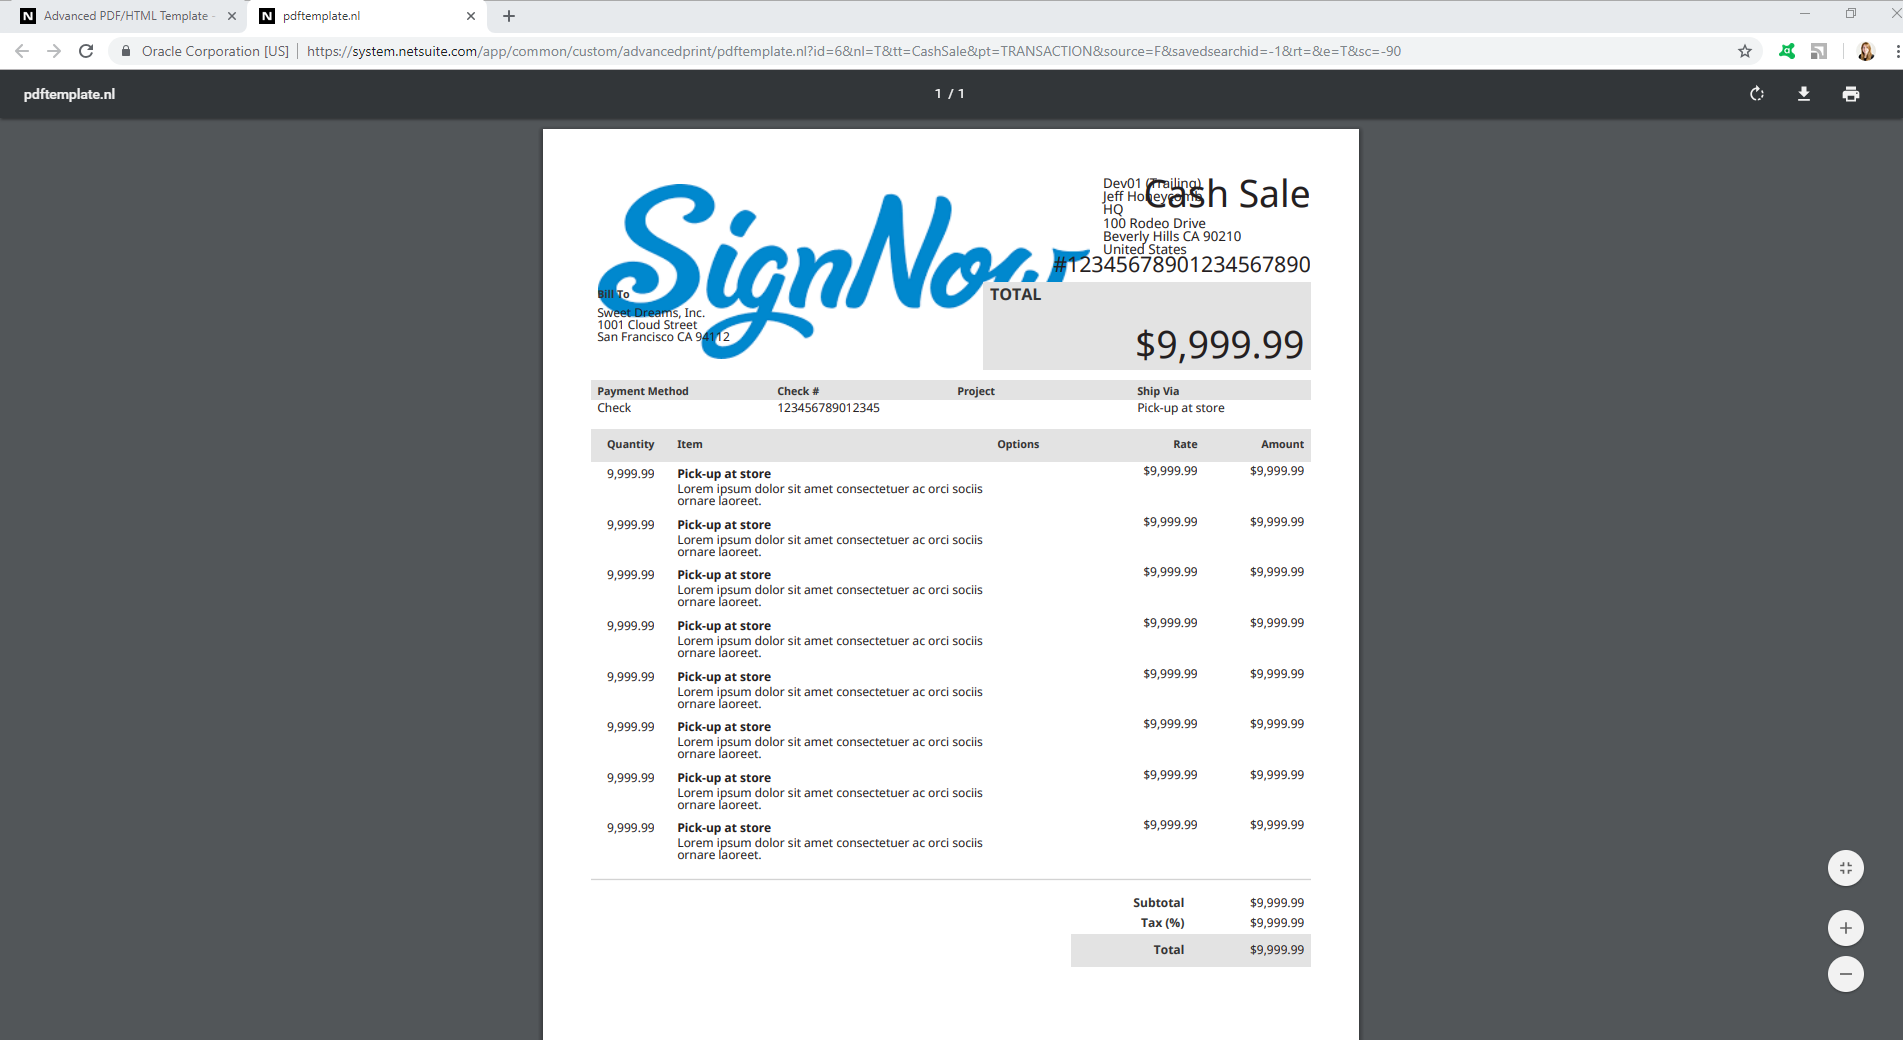
Advanced PDF/HTML Template in Preview
You can see from the Preview, that this template needs customization: logo should be smaller and maybe the font of some elements should be bold. At this stage you can make those edits.
1.3. Edit in HTML or in a PDF editor: switch between those using Source code flipper.
1.4. Once you’re done editing, click Save.
That’s it for Stage 1. Get ready to use your edits during stage 2.
Stage 2. Create New record on the list of Advanced PDF templates
2.1. Find the list - it's a special record type called 'Advanced PDF templates', installed automatically from the SignNow bundle.
Go to Customization > Lists, Records, & Fields > Record Types > Advanced PDF Templates.
2.2. Click New Record in this list.

To view the list click List, to add a record click New Record
2.3. Now is the moment when you should copy the source code from the previous stage and paste it in Source code box.

2.3. Give a name to your new record in the Name field and click Save.
Now you can find this template under Advanced PDF/HTML Template > List in List, Records, & Fields. Also, you can use it with SignNow Send for Signature or Sign In Person.
Updated over 6 years ago
