Bulk Send a record for signature via Mass Updates
Bulk Send works only when one document is sent to multiple contacts
If you'd like to send an individual copy to every contact, use Send for Signature for every operation.
MassUpdates - Bulk Send generates several identical documents from one record and sends identical copies to every contact on the list.
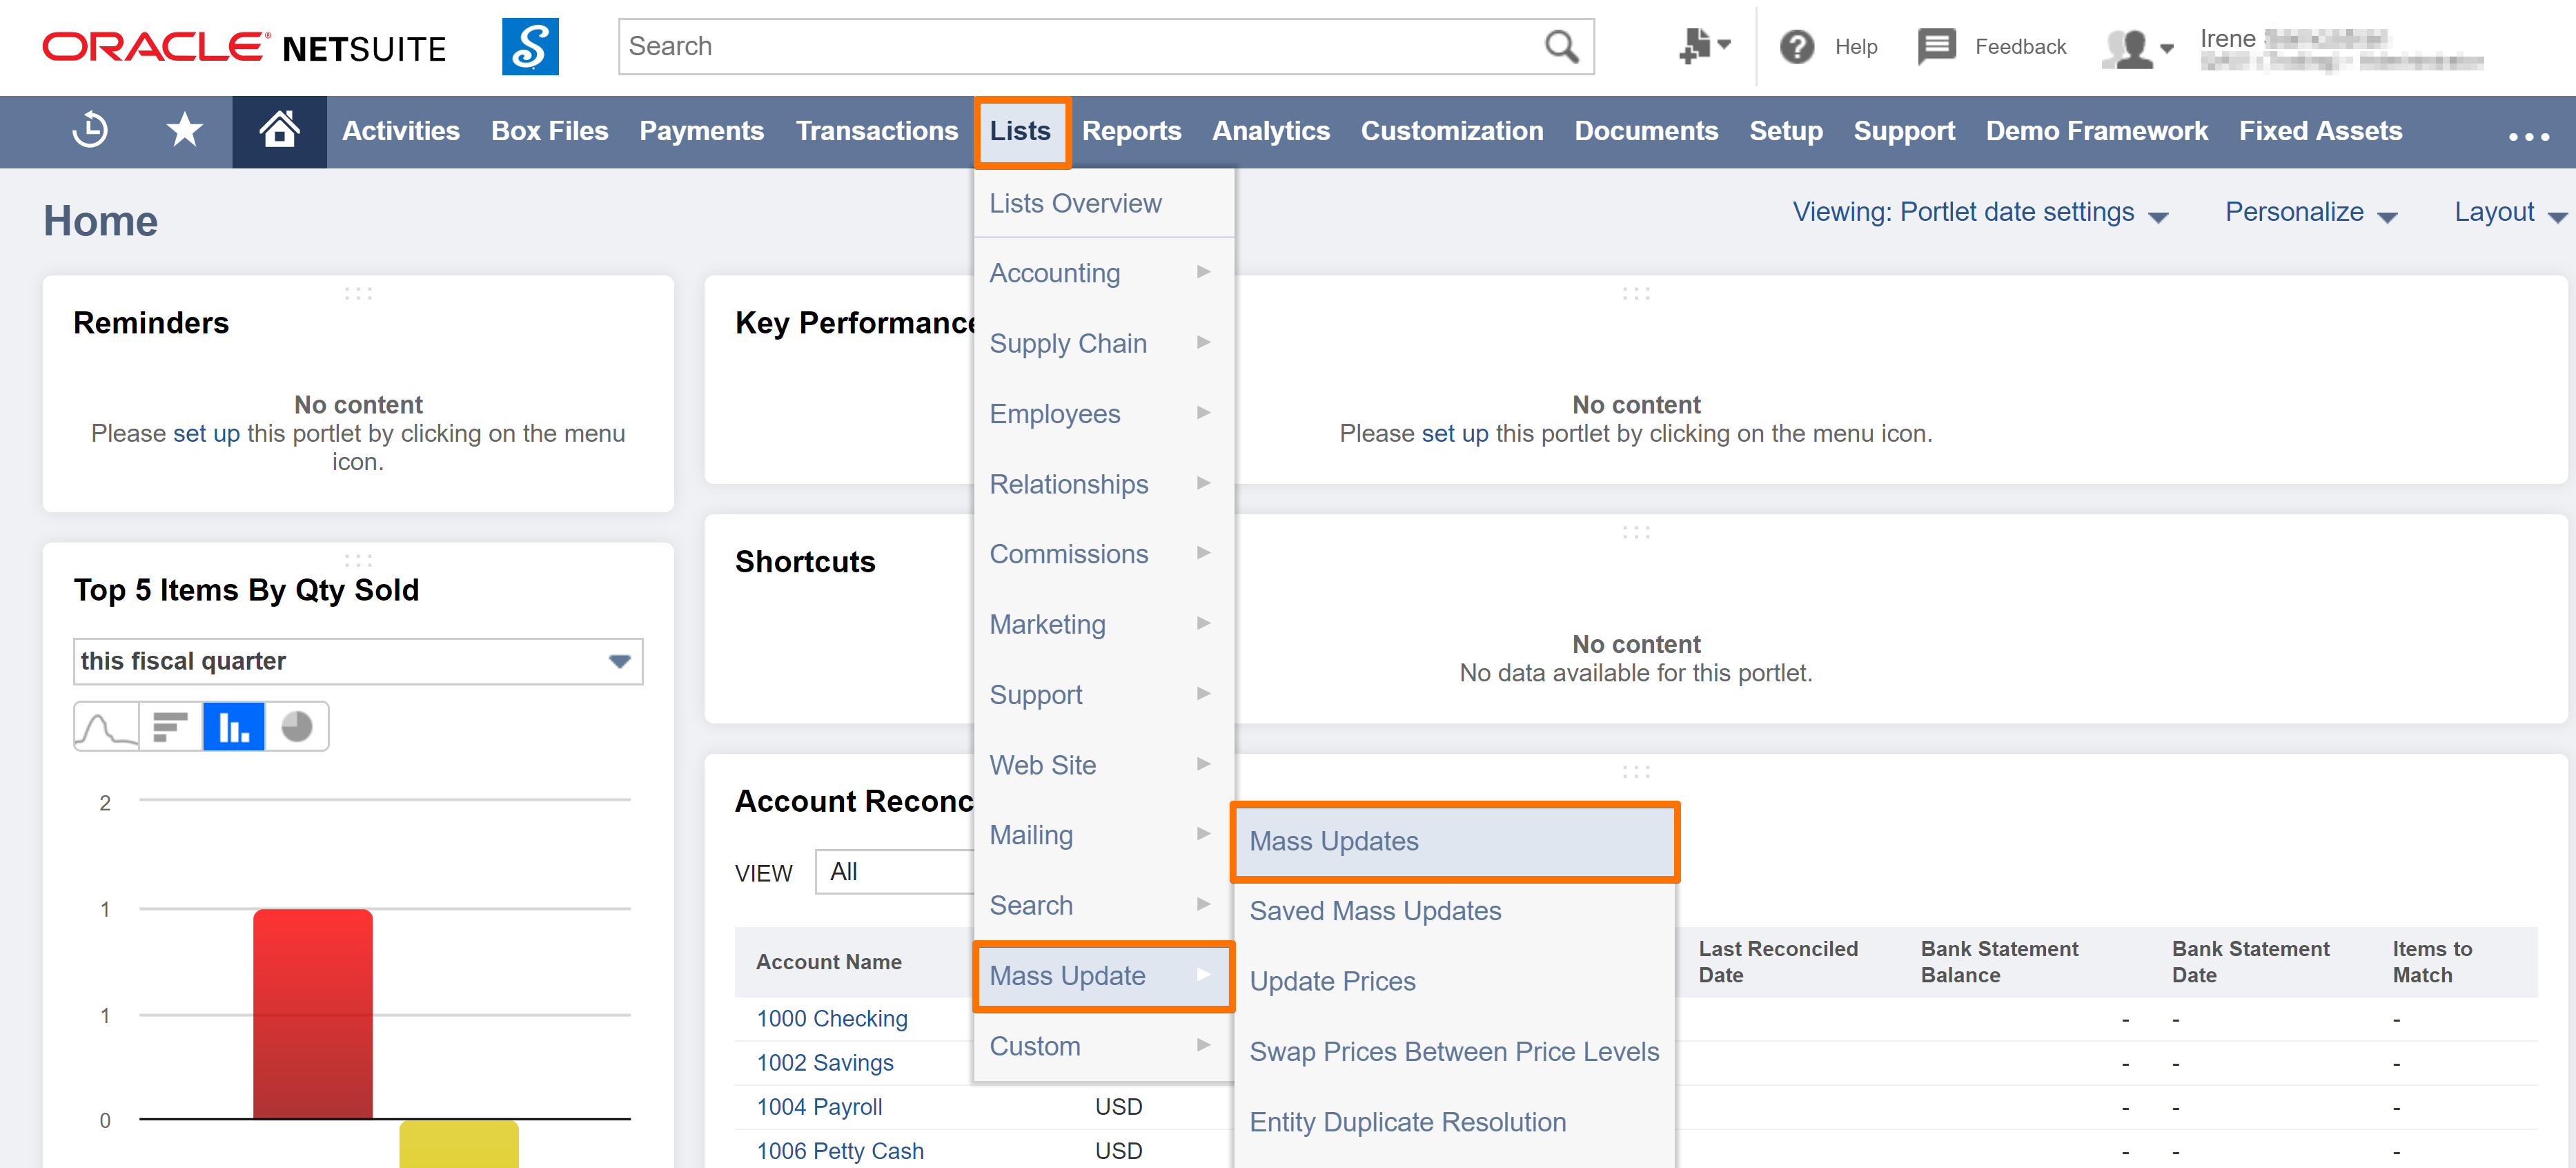
- Go to Lists > Mass Update > Mass Updates.
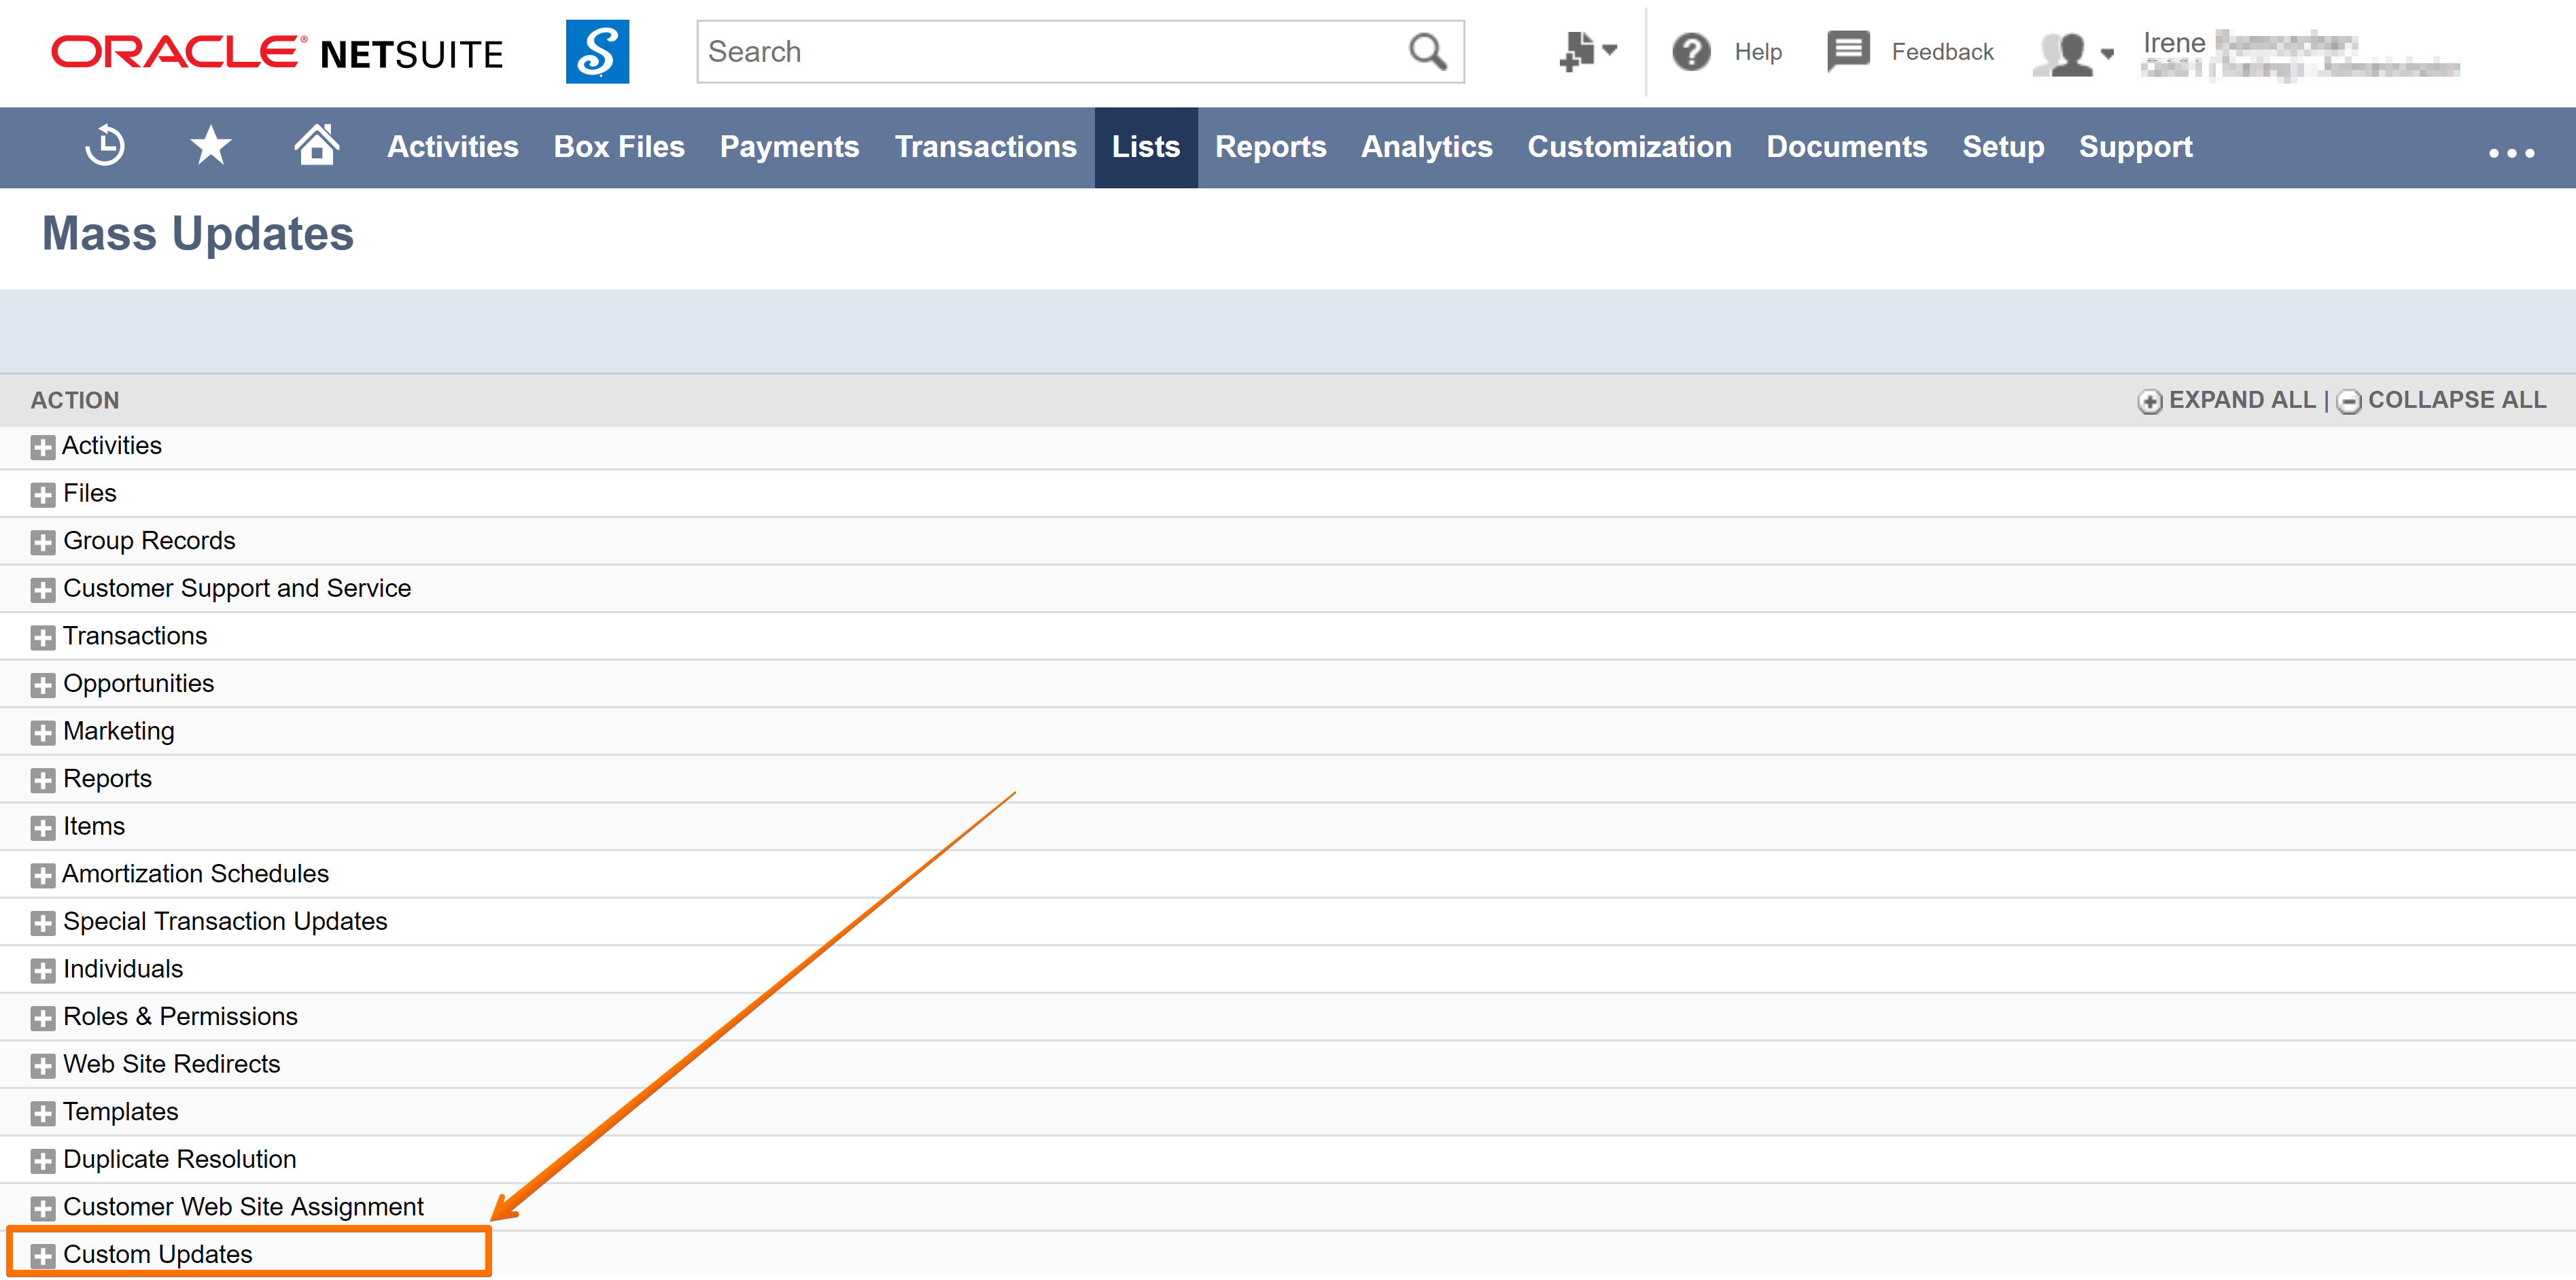
- Expand Custom updates.
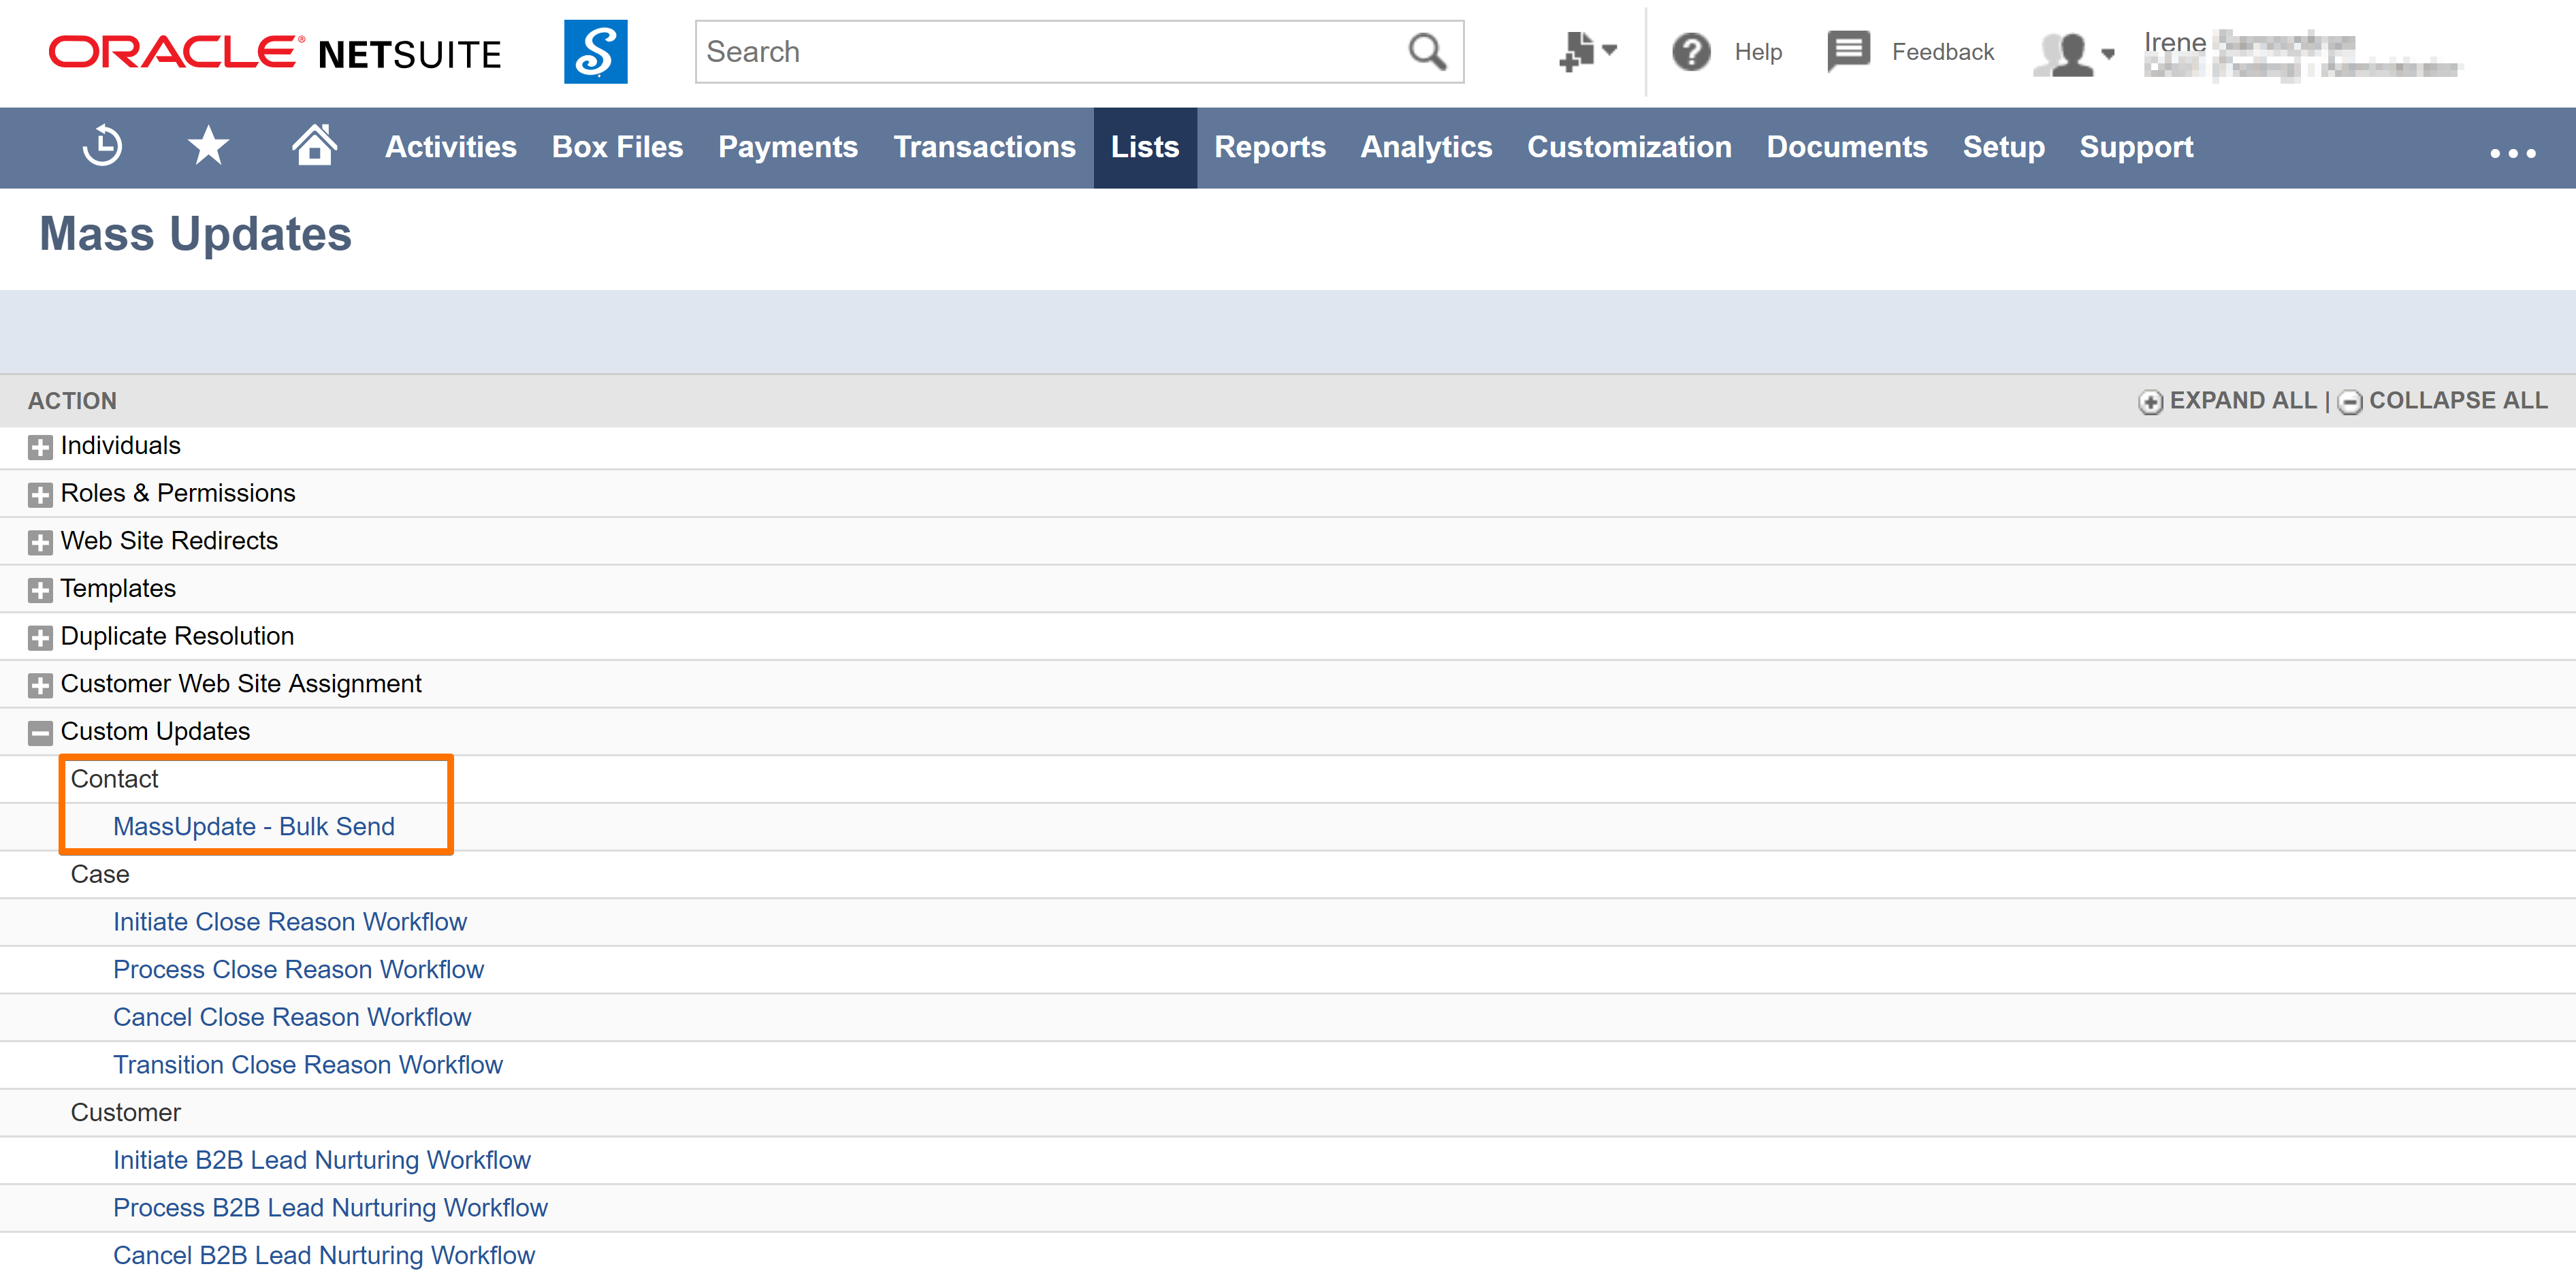
- Select - Mass Update - Bulk Send.
Note
You can set up any standard or custom record type for mass updates.
How to make custom record types available for Mass Updates
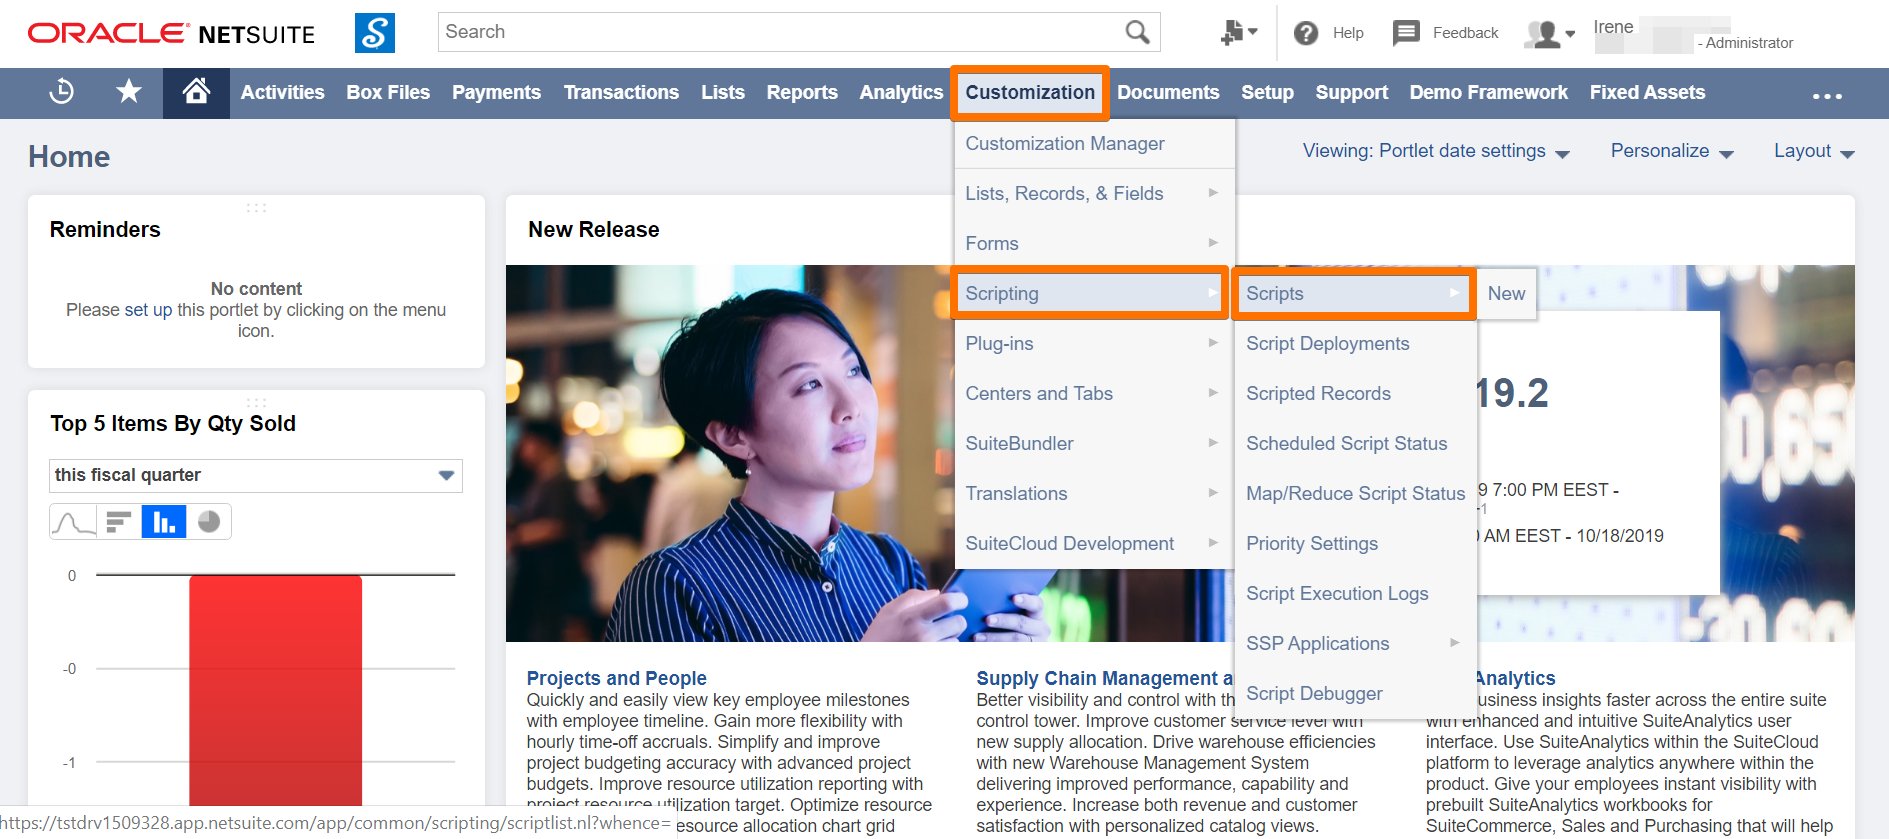
- Go to Customization - Scripting - Scripts.
In Filters, go to Type and select Mass Update.

In MassUpdate - Bulk Send, click Edit.

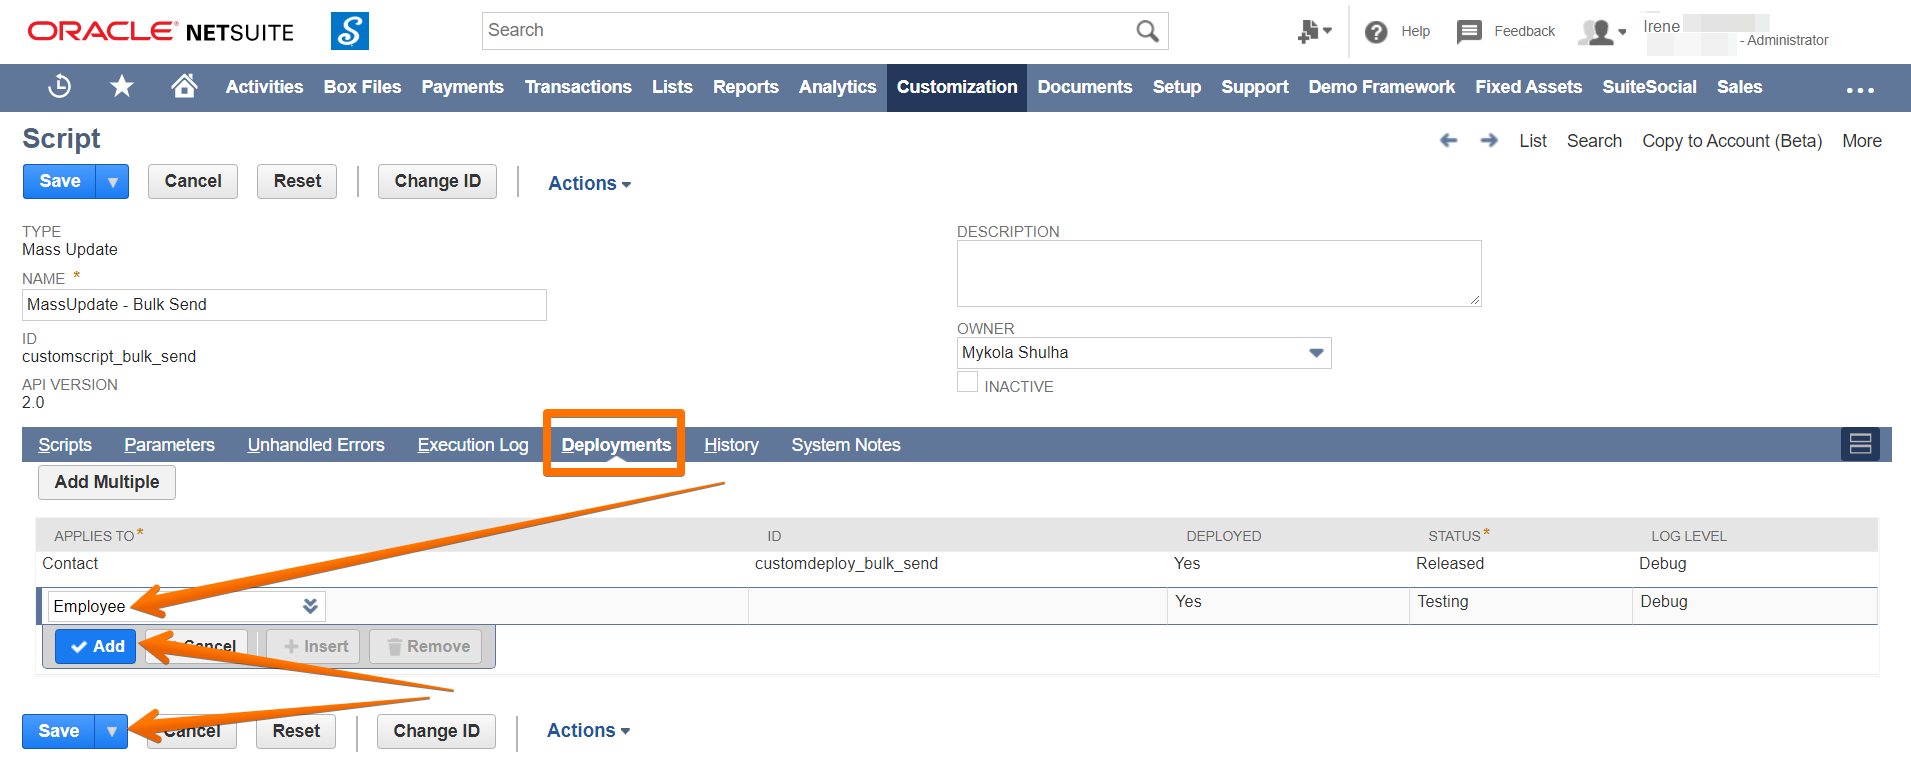
To make a record type available for Mass Updates, add it to Deployments.
Go to Deployments. In Applies to, type in and select the record type you'd like to add (in this example - Employee), then click Add and Save.
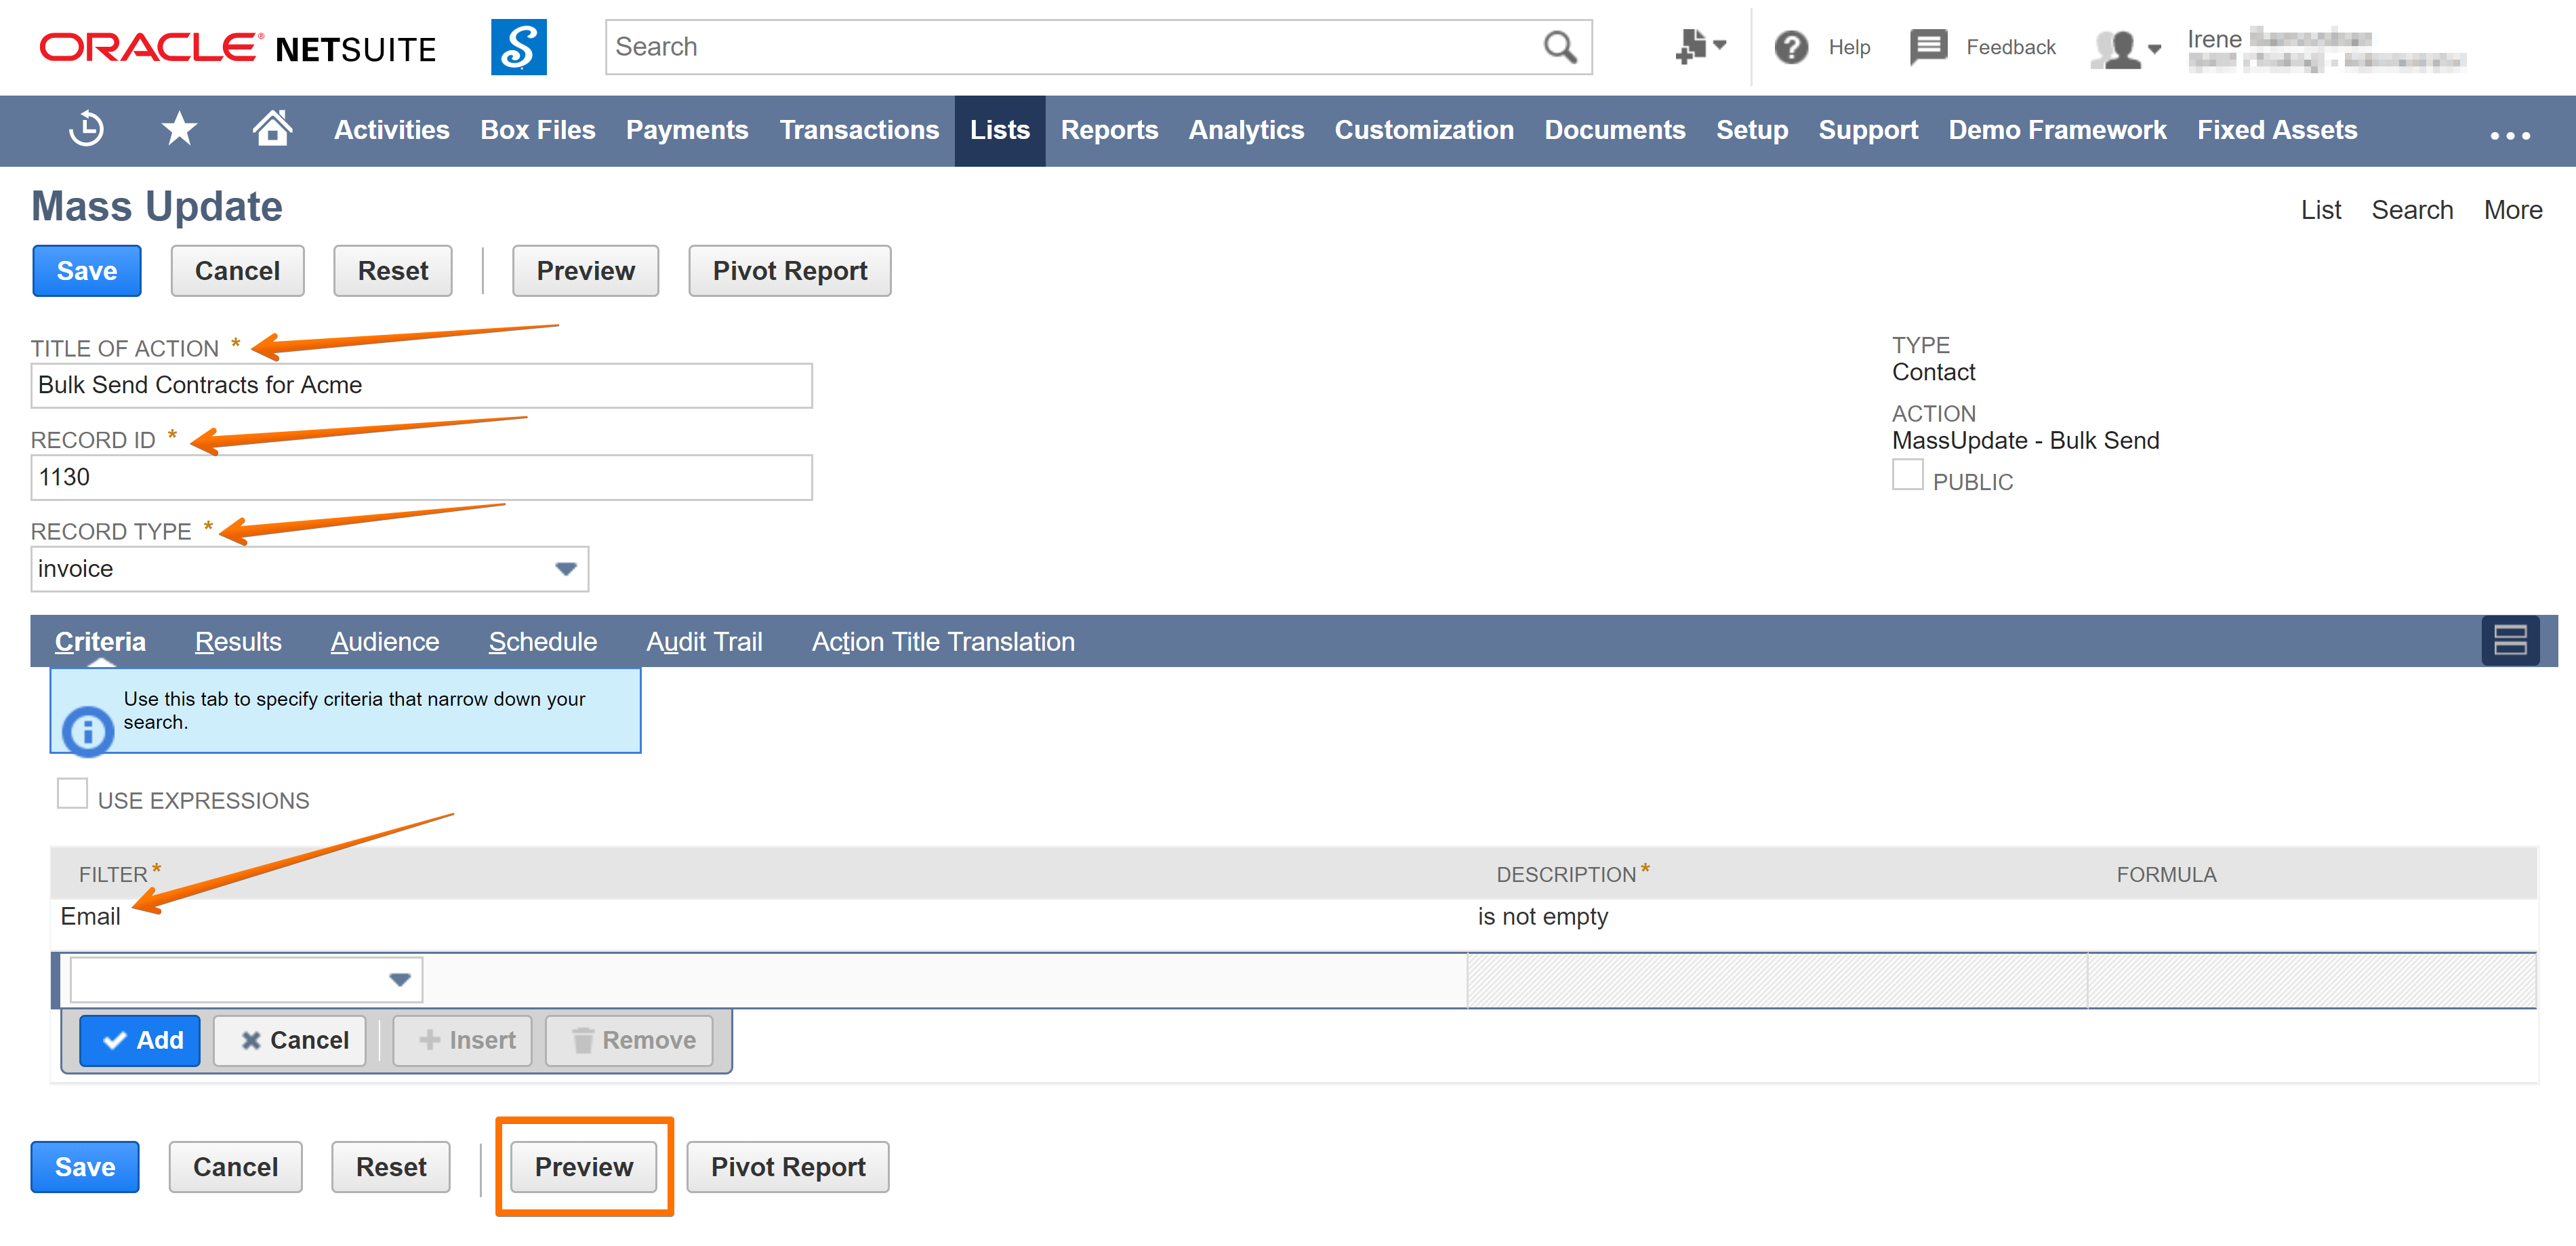
- Fill out the required fields:
- TITLE OF ACTION: name your operation.
- RECORD ID: insert the ID of the record you would like to send for signature.
Add the ID of the record that contains the document for signature
For example, you'd like to send a sales order to several employees. At this step, insert the ID of the Sales Order record which contains the data you need in the document.
Then, during the MassUpdate operation, PDF is generated according to the Print Template set for every record in NetSuite. To check the Print Template or change it, in the record go to Customize > Customize form.
The record internal IDs can be found either in the URL of the record or in the list of the records in a dedicated column. If you're looking at the URL, it's the numbers in between id= and &.
- RECORD TYPE: insert the type of the record you would like to send for signature (e.g. Opportunity).
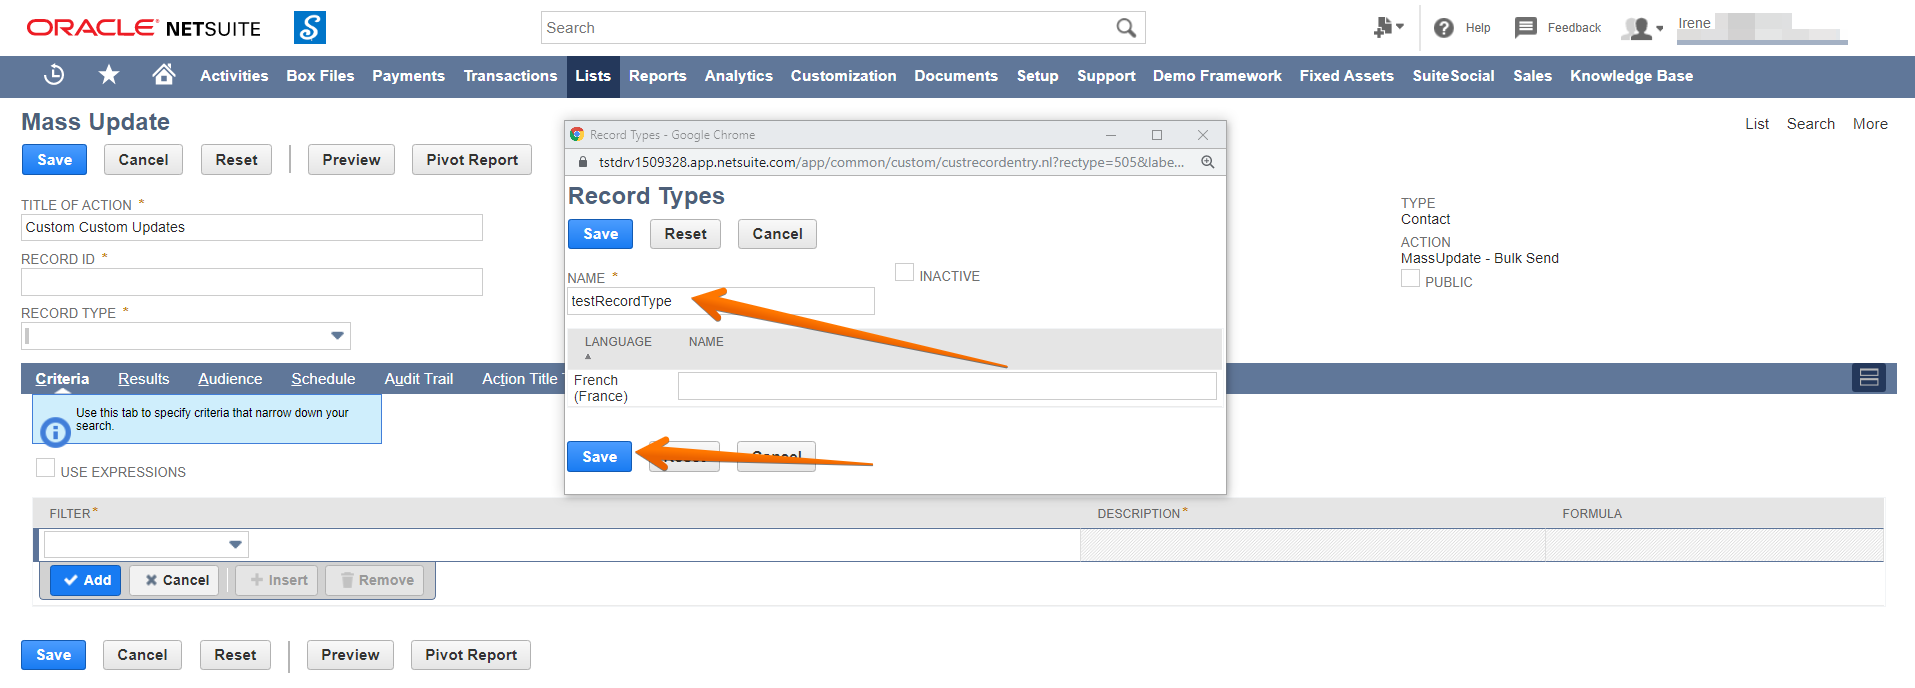
How to add a custom record type
When you can't find the record type in the dropdown, select New. In the new window, type a name for your record, and click Save.
- CRITERIA: go to this subtab and select from Filter dropdown a search filter. For example, select Email and set its value to 'is not empty' to filter out the Contacts with no email address.
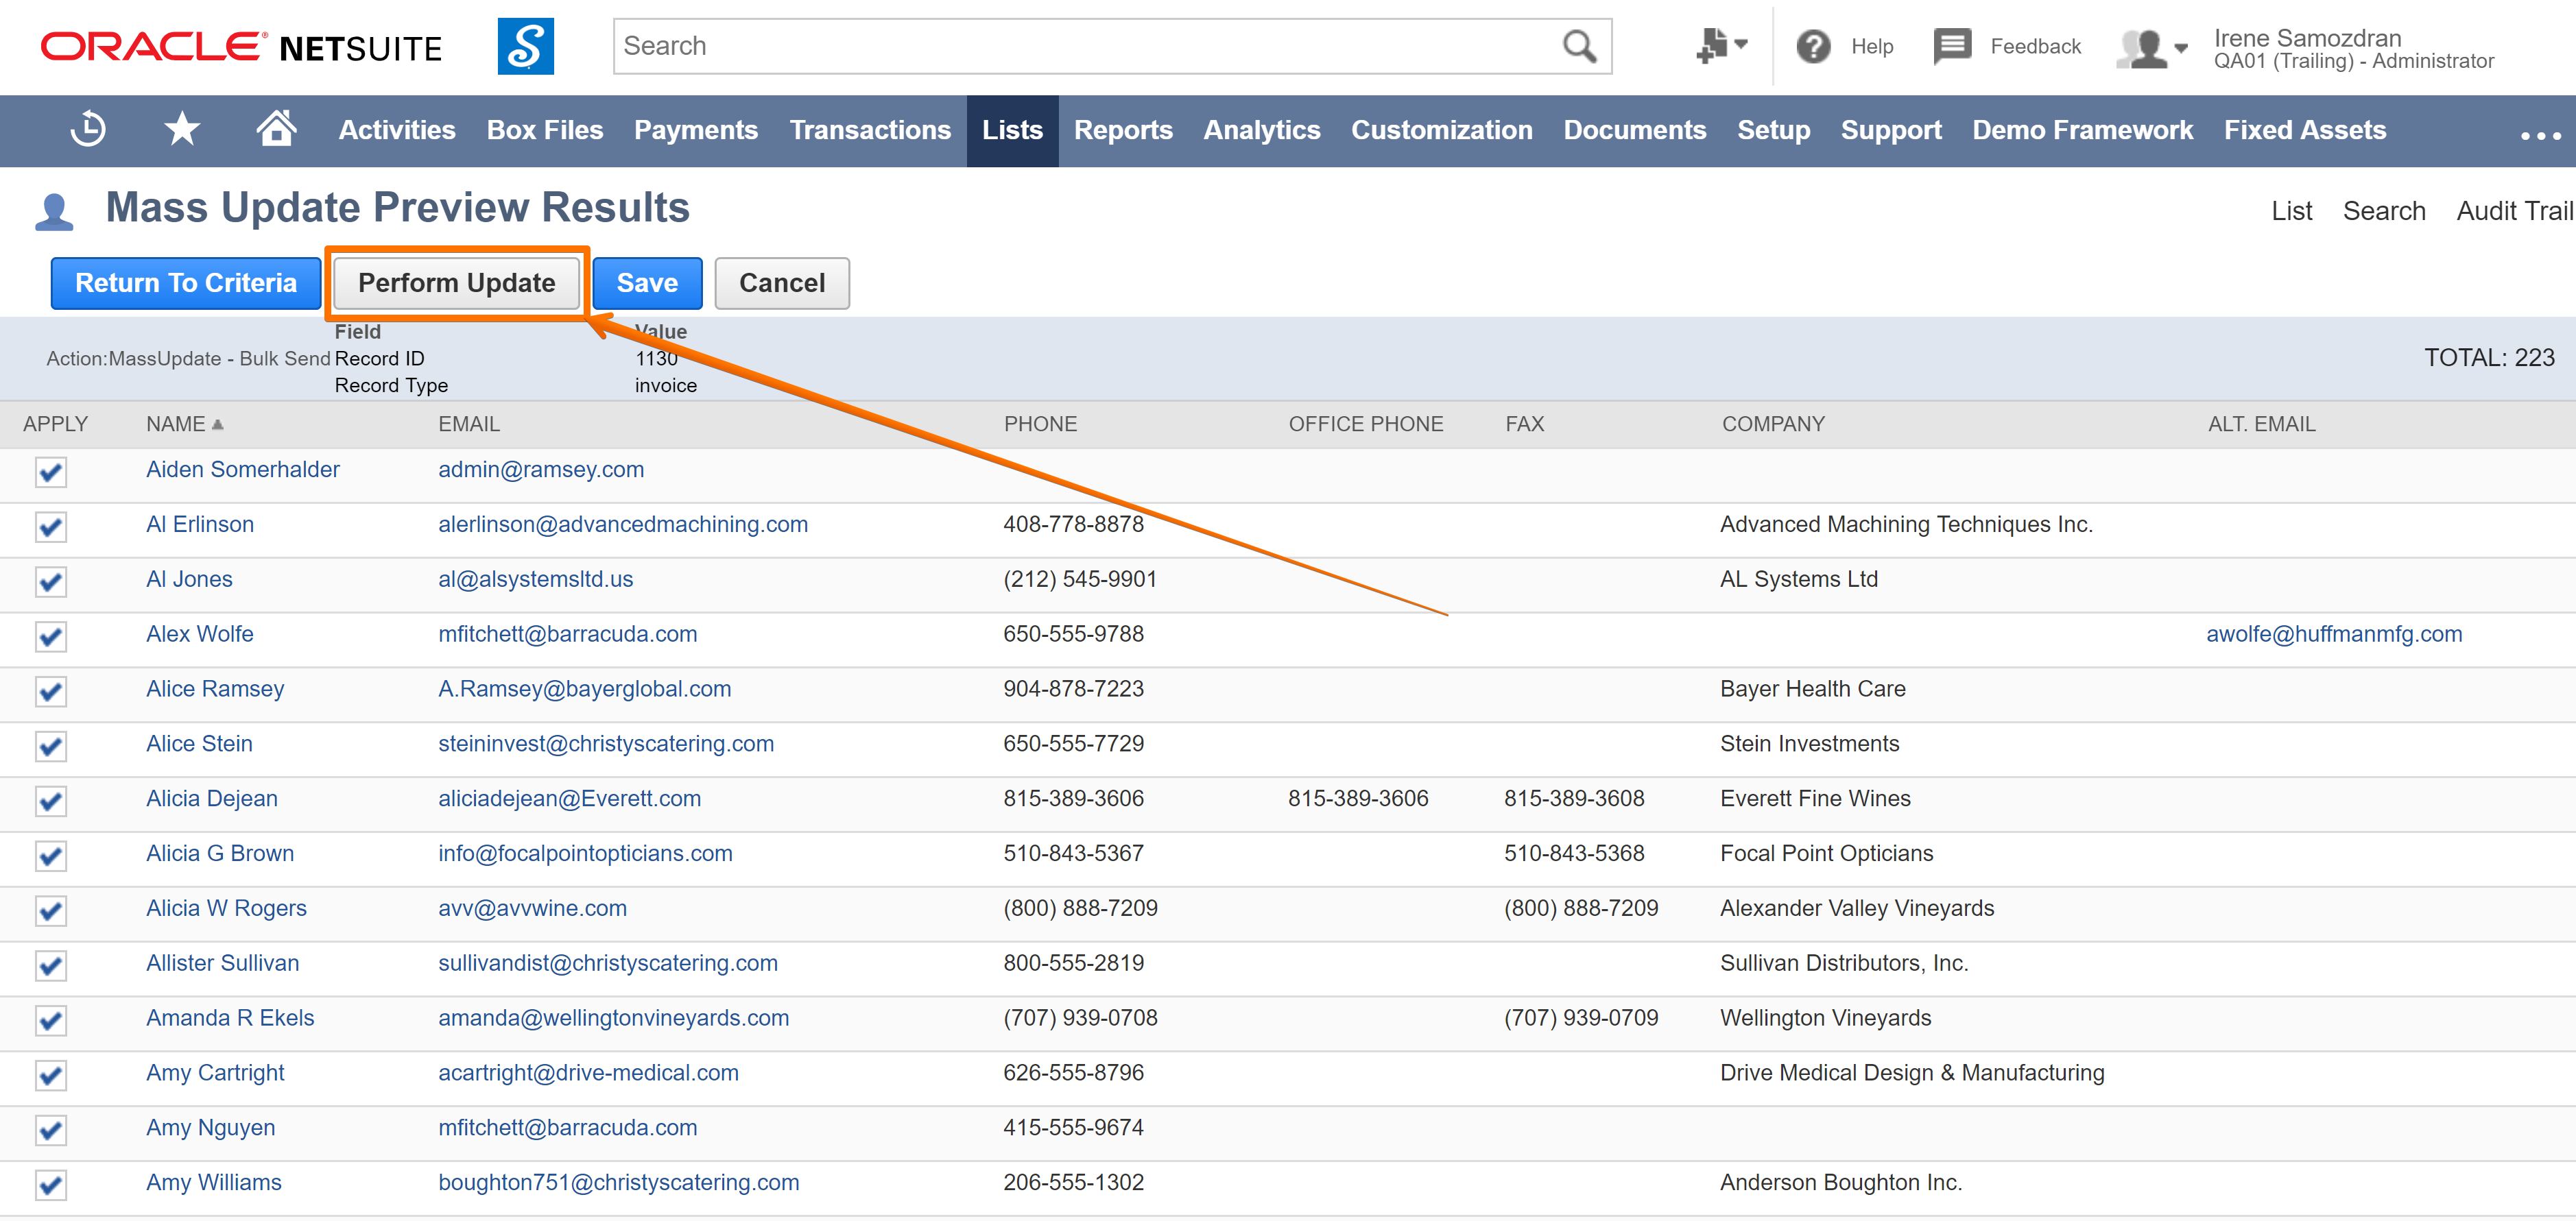
- Click Preview. You'll see the list of Contacts. Check if the contacts match your CRITERIA.
- Click Perform Update.
Updated about 6 years ago
