Workflow - Send for Signature
When you create a sales order, you don’t have to manually prepare a sales order in PDF for your contact to approve the list of items ordered. In SignNow you can generate it automatically.
To start using this feature, make sure you have the correct credentials saved in the Parameters.
- Go to Customization - Scripting - Scripts.
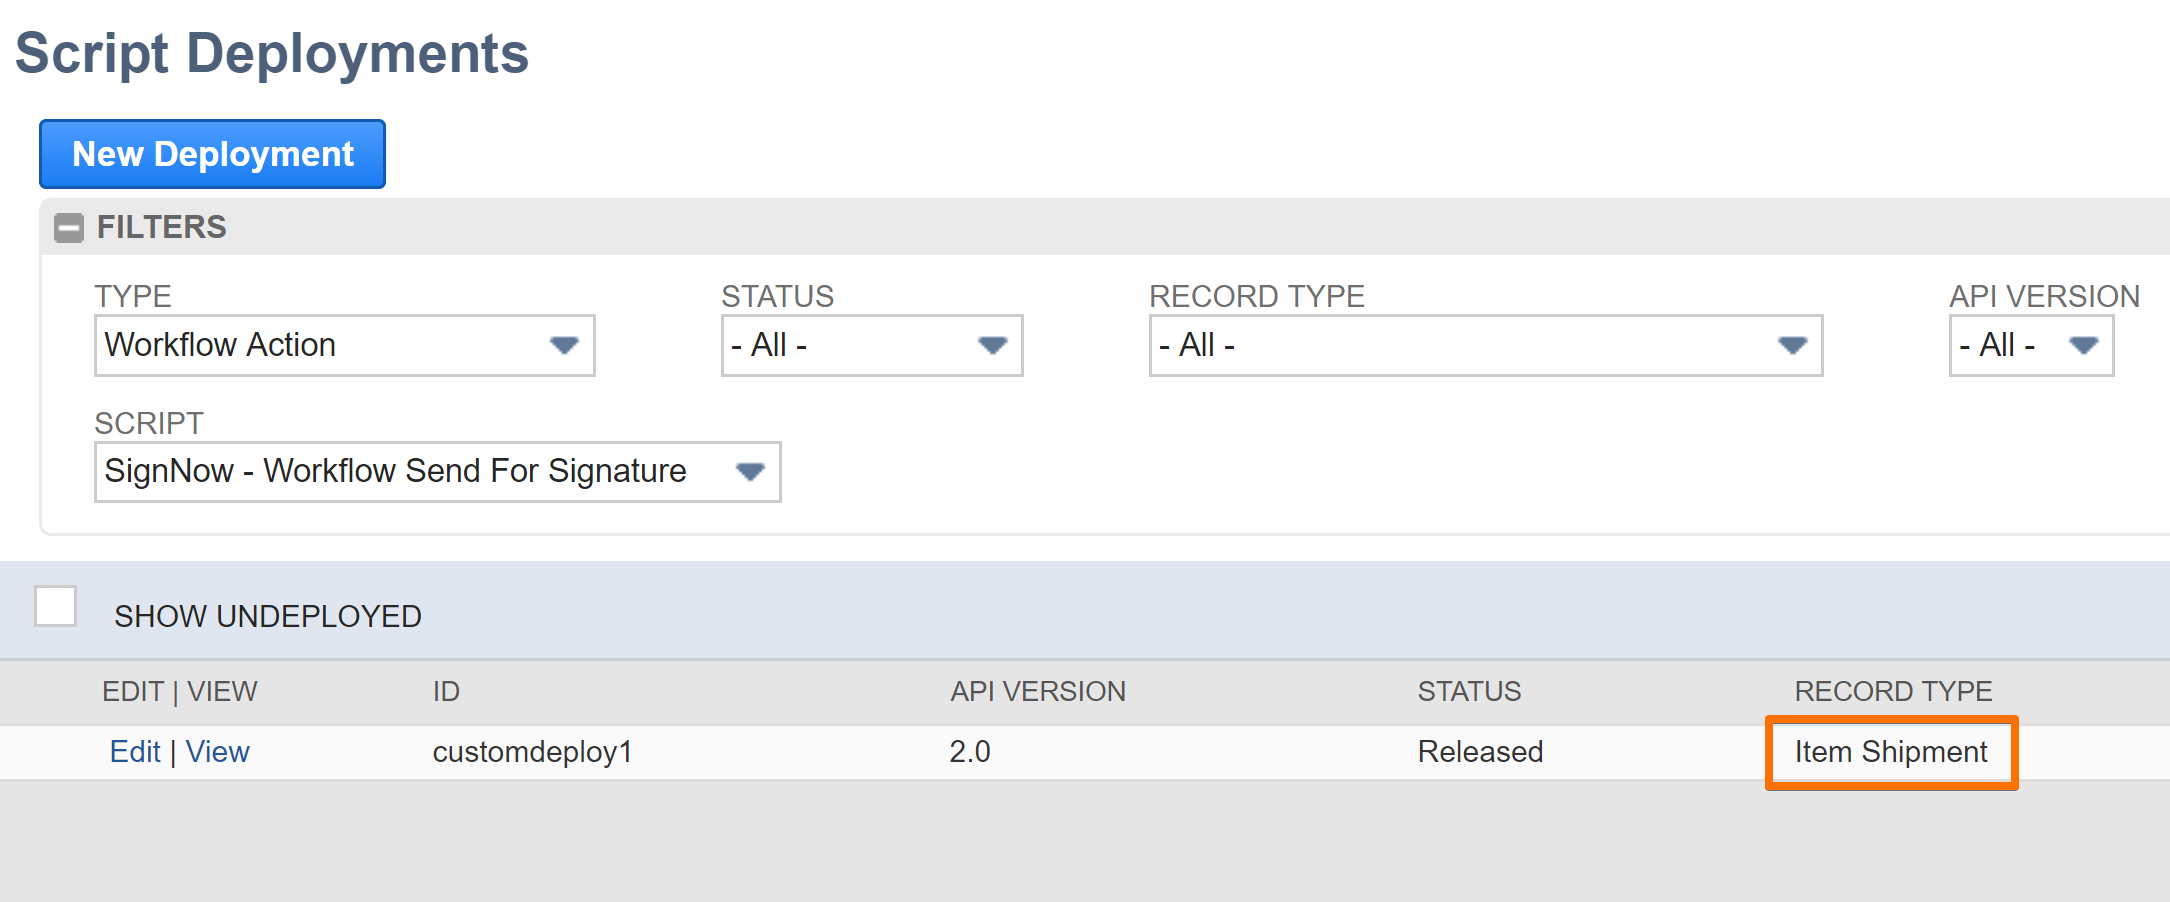
- Set the filter to SignNow. Find the script called SignNow - Workflow Send For Signature and click Deployments.
Note that the record type for this workflow is Item Shipment. Click Edit on the left.
- Go to Parameters tab. The NetSuite User Email must be similar to SignNow User Email as well as the NetSuite User Password must be identical to the SignNow User Password. Also, select your role in the NetSuite organization in the NetSuite User Role dropdown.

- Note the Email Field ID. Here you specify a field in the NetSuite record to get recipient email from. For example, in the Sales order the email of the customer is stored in the field labeled “custbody 14”.
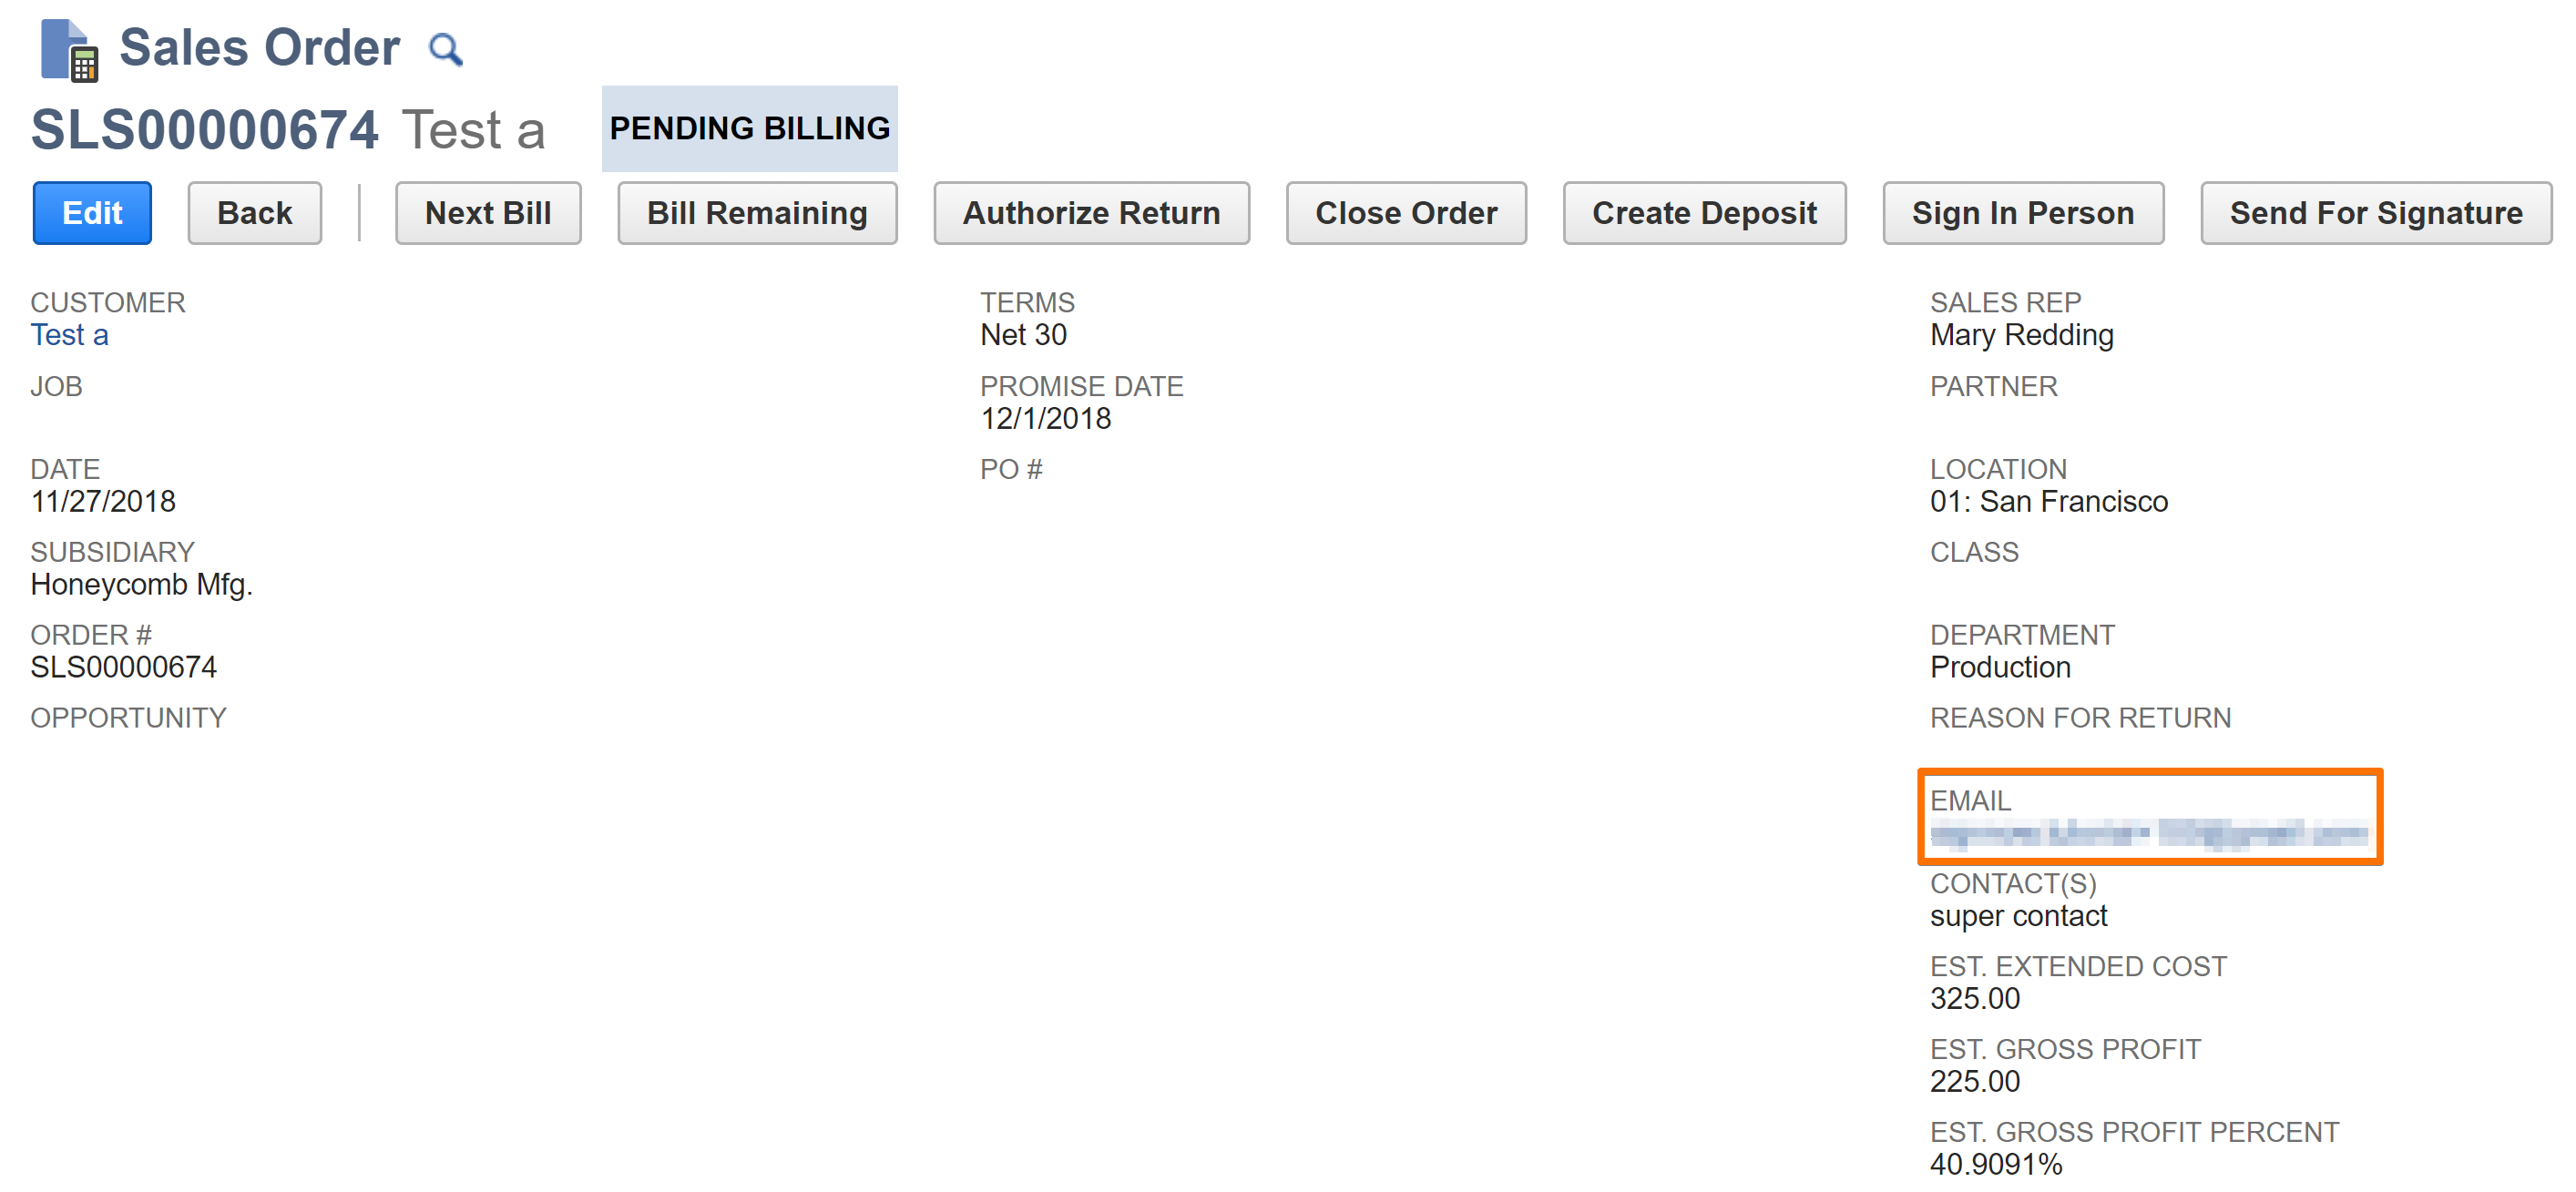
To learn the Field ID, click on the name of the field.

All set. Now let’s see how it works.
When you start creating a sales order in NetSuite, SignNow automatically creates an Item Shipment record, generates a PDF of the sales order, sends it for signature and returns the signed document to the History tab of the newly created sales order.
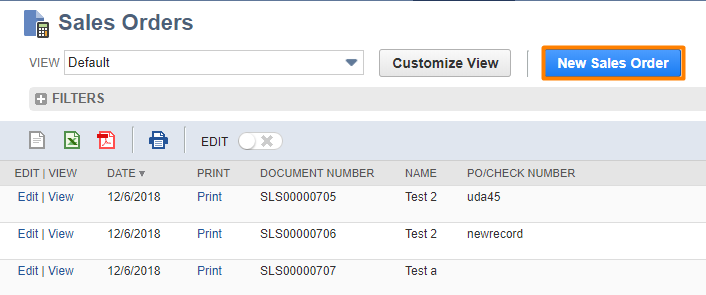
- Create a new sales order: find the Sales Orders page and click New Sales Order.
- Type the data or select a customer to automatically fill out the Sales order.

- Provide the information about ordered items in Item subtab. Click Add.
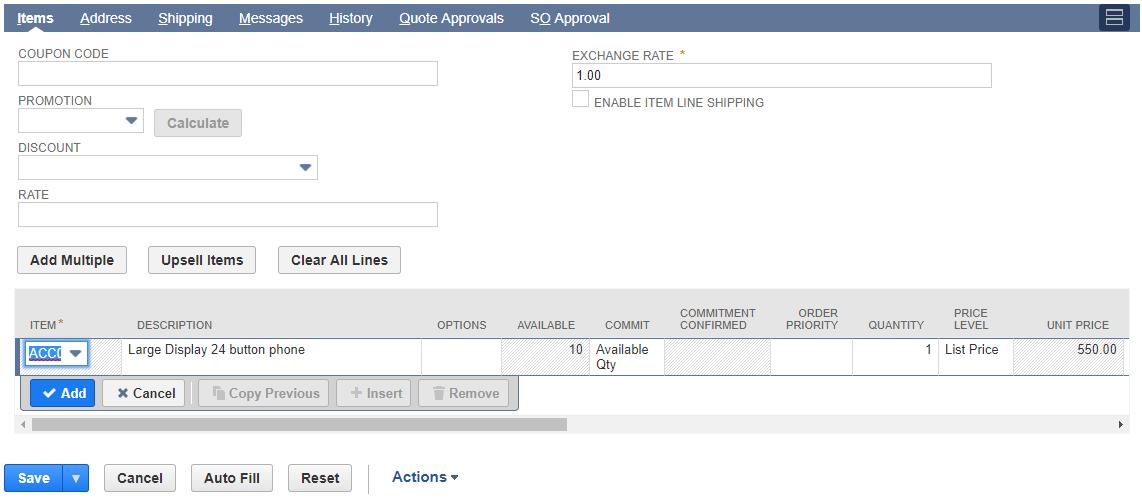
- Click Save.
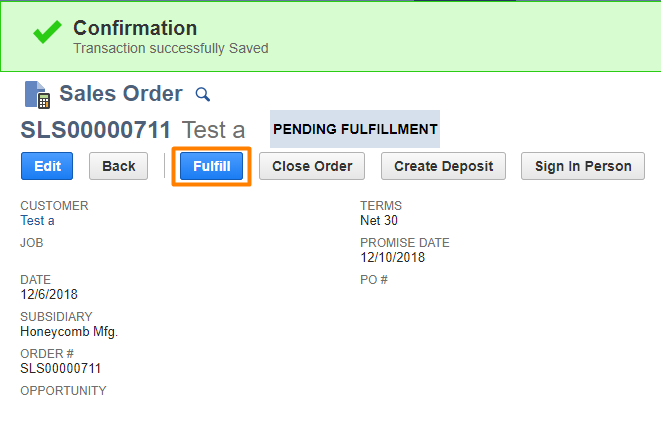
Once you click Fulfill, an email with a generated Sales order will be sent to the recipient address specified in EMAIL field in this record.
- Click Fulfill in the new window.
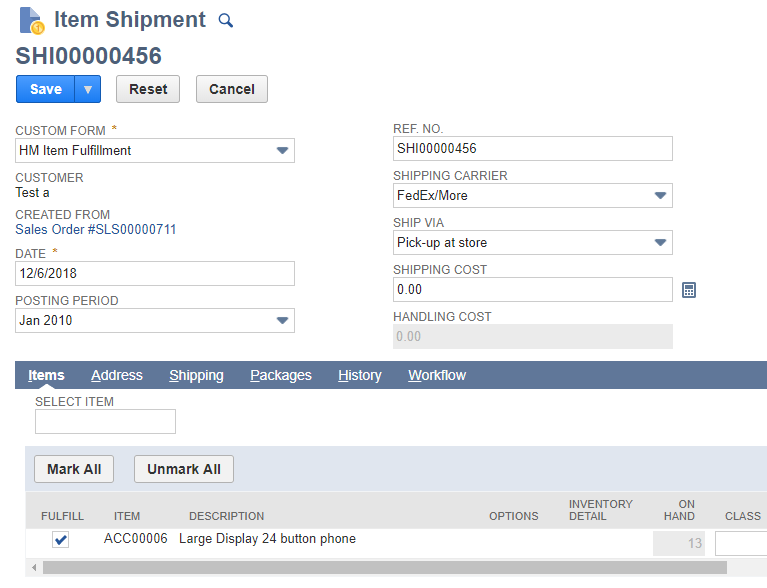
An item shipment record will be created.
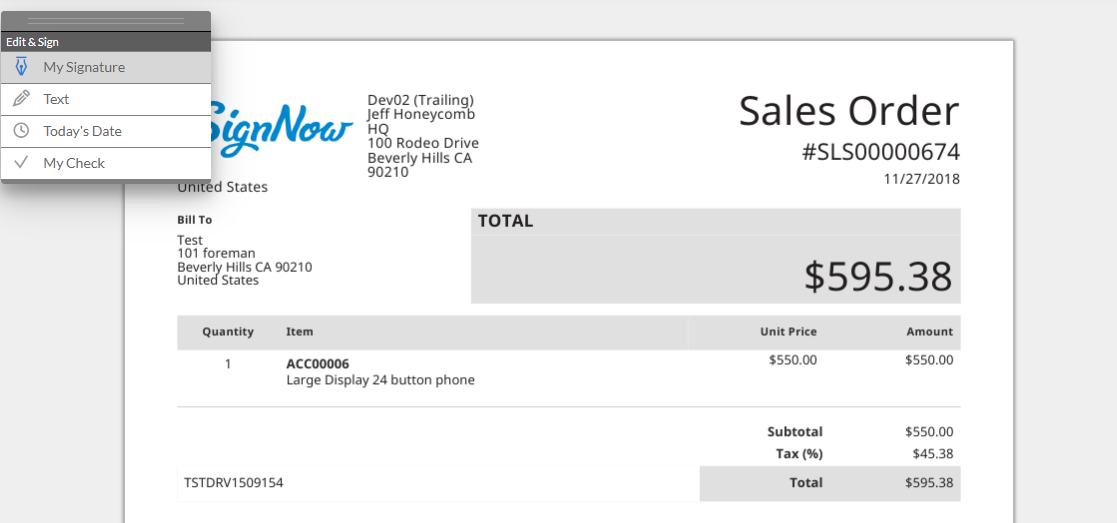
Recipient gets an email with the sales order for signature:
When the document is signed, you can find it by going back to the created Sales order record. Go to the History subtab and select Files.

Updated less than a minute ago
